If you are reading this post then you are possibly looking for the best first foods for babies starting solids.
Take a breath, you don’t need to overthink this. What you need is a clear understanding of what’s safe, what’s nutritionally useful at this stage, and a handful of simple recipes to get you started with confidence.
This post walks through exactly that, explicitly and step by step.
Disclaimer
A quick but important note before we begin: This post is written for general education and inspiration only. It is not medical advice and is not a substitute for guidance from your baby’s pediatrician. Please talk to your pediatrician before starting solids, or introducing any allergenic food, and any time you have questions about your specific baby.
Check out:
Common Feeding Mistakes New Parents Make and How To Fix Them
How To Encourage Healthy Eating Habits In Children
How To Reset A Toddler’s Sleep Schedule

How Do You Know When a Baby Is Actually Ready for Solids?
Before we talk about food, let’s talk about timing, because readiness matters more than the calendar date.
Most pediatric guidance points to around 6 months as the right window to begin, though some babies show readiness signs slightly earlier or later. Rather than going by age alone, look for these developmental signs:
- Your baby can sit upright with good head and neck control, with little or no support
- Your baby has lost the tongue-thrust reflex (they no longer automatically push food back out of their mouth with their tongue)
- Your baby shows real interest in food, watching you eat, reaching for your plate, opening their mouth as food approaches
- Your baby can move food from the front of their mouth to the back and swallow, rather than only suckin
If your baby isn’t showing these signs yet, that’s completely fine. Readiness varies, and starting solids isn’t a race. Always check with your pediatrician about the right timing for your specific baby, especially if your baby was born prematurely or has any medical conditions.
Why First Foods Matter: The Iron and Zinc Connection
Here’s something many parents don’t realize: by around 6 months, a baby’s natural stores of iron, built up during pregnancy, begin to run low. Breast milk, while wonderful for many things, is naturally low in iron. This is one of the key reasons solids are introduced around this age, and it’s why iron-rich foods are prioritized as first foods rather than, say, starting with fruit alone.
This is why you’ll see iron-fortified cereals, pureed meats, and legumes recommended so often as first foods. It’s not arbitrary, it’s about meeting a real nutritional need at exactly the stage your baby needs it most.
You’d also like
How To Prepare Your Toddler For A New Baby: Everything You Need To Know
Signs Your Toddler Is Ready For Potty Training
The Ultimate Baby And Toddler Care Guide For First-Time Parents: Everything You Need to From Birth To Age 3
Best First Foods for Babies Starting Solids
1. Iron-Fortified Single-Grain Cereal (Oatmeal Preferred)
Iron-fortified oat cereal is one of the most commonly recommended first foods because it directly addresses your baby’s increased iron needs. Oatmeal is generally preferred over infant rice cereal, because rice naturally absorbs more arsenic from soil and water than other grains, and health authorities recommend limiting rice-based products in early feeding. Barley and multigrain cereals are good options too.
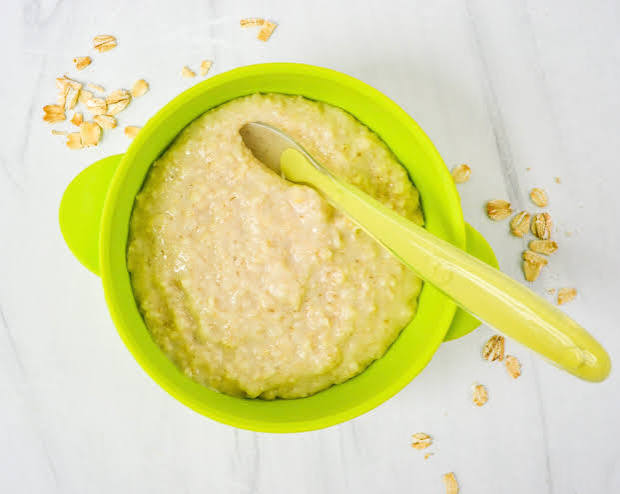
Iron-Fortified Oat Cereal
Ingredients:
- 1 tablespoon iron-fortified single-grain oat baby cereal
- 4 to 5 tablespoons breast milk, formula, or water
Steps:
- Measure the oat cereal into a small, clean bowl.
- Add the breast milk, formula, or water gradually, stirring continuously with a clean spoon.
- Mix until you reach a thin, smooth, pourable consistency — similar to a runny soup at first.
- Test the temperature on the inside of your wrist; it should be lukewarm, never hot.
- Offer your baby a small amount — about half a spoonful — using a soft baby spoon, going at your baby’s pace.
- As your baby gets used to eating, gradually thicken the consistency over subsequent feedings by reducing the liquid slightly.
2. Pureed Meats (Chicken, Beef, Turkey)
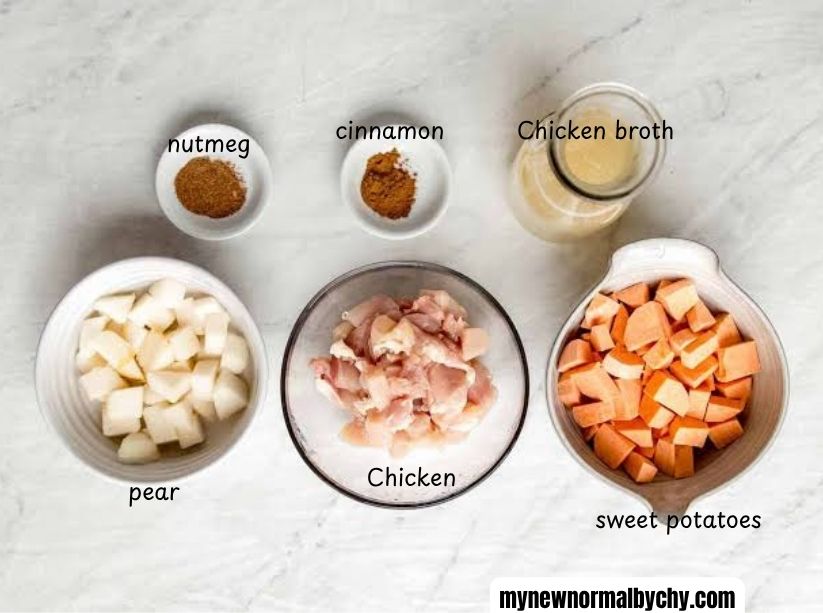
Pureed meat may not be the first thing that comes to mind for baby food, but it’s an excellent source of both iron and zinc — two nutrients babies need more of at this stage, in a form their growing bodies absorb especially well
Pureed Chicken (Iron and Zinc-Rich Option)
Ingredients:
- 2 ounces boneless, skinless chicken breast or thigh
- Water or low-sodium broth, for cooking
Steps:
- Cut the chicken into small, even pieces.
- Place the chicken in a small pot and cover with water or low-sodium broth.
- Bring to a gentle boil, then reduce heat and simmer until the chicken is fully cooked through with no pink remaining, about 12 to 15 minutes.
- Drain, reserving a little of the cooking liquid.
- Transfer the cooked chicken to a blender or food processor.
- Blend, adding small amounts of the reserved cooking liquid, breast milk, or formula gradually, until you reach a completely smooth, thin puree with no fibrous pieces remaining.
- Check carefully for any small bits of unblended meat, as these can be a choking hazard at this stage.
- Cool to a safe, lukewarm temperature before serving.
You’d also like
Baby Nursery Closet Organisation Ideas for Small Spaces
25 Sensory Play Ideas For Toddlers With Autism
The Best Sensory Play Ideas For Rainy Days
3. Pureed or Mashed Vegetables

Sweet potato, carrot, butternut squash, peas, and green beans are gentle on a new digestive system and offer a wide range of vitamins. Starting with milder vegetables can help ease the transition, since some babies take a little time adjusting to new textures and flavors.
Simple Pureed Sweet Potato
Ingredients:
- 1 medium sweet potato
- Water, for steaming
Steps:
- Wash, peel, and chop the sweet potato into small, even chunks.
- Place the chunks in a steamer basket over boiling water, or in a pot with about an inch of water.
- Cover and steam for 12 to 15 minutes, or until completely fork-tender.
- Drain and let cool until safe to handle.
- Transfer to a blender or food processor and puree, adding small amounts of water, breast milk, or formula as needed to reach a smooth, thin consistency appropriate for your baby’s stage.
- Check the temperature carefully before serving, it should be lukewarm.
- Store any unused portion in an airtight container in the refrigerator for up to 2 days, or freeze in small portions for up to 1 month.
4. Pureed or Mashed Fruits
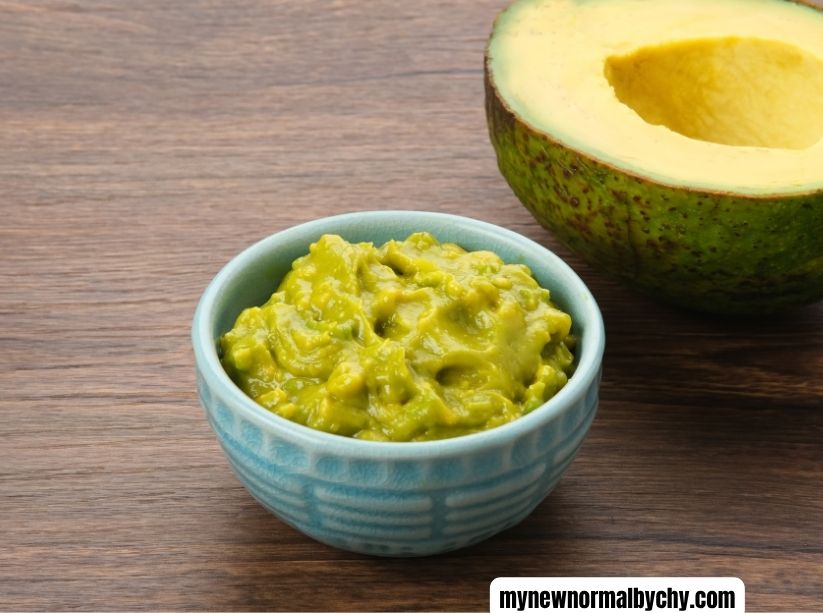
Banana, avocado, pear, and apple are easy to prepare and naturally sweet, which often makes them an easy entry point. Avocado, in particular, is a great choice because of its healthy fat content, which supports brain development.
Mashed Avocado
Ingredients:
- 1/4 ripe avocado
Steps:
- Cut the avocado in half and remove the pit.
- Scoop out a quarter of the flesh into a small, clean bowl.
- Mash thoroughly with a fork or spoon until smooth, with no lumps.
- If needed, add a small splash of breast milk, formula, or water to reach a thinner consistency for early feedings.
- Serve immediately, as avocado browns quickly. It’s best prepared fresh for each feeding rather than stored.
Creamy Mango Dessert Recipes That Taste Better Than Bakery Treats
Quick Sourdough Discard Breakfast Recipes For Busy Moms
Healthy Weight Loss Summer Meal Ideas (simple and satisfying)
5. Smooth Peanut Butter (Thinned, Not Whole Nuts)
Current pediatric guidance has shifted significantly here: early, intentional introduction of allergens like peanut is now recommended rather than delayed, as it appears to help reduce the risk of food allergy later on. This must always be done carefully and safely, smooth peanut butter thinned with water or breast milk/formula, never chunky peanut butter and never whole or chopped nuts, which are serious choking hazards. Always speak with your pediatrician before introducing peanut, especially if your baby has eczema or a known egg allergy, as your doctor may recommend an in-office introduction or allergy testing first.
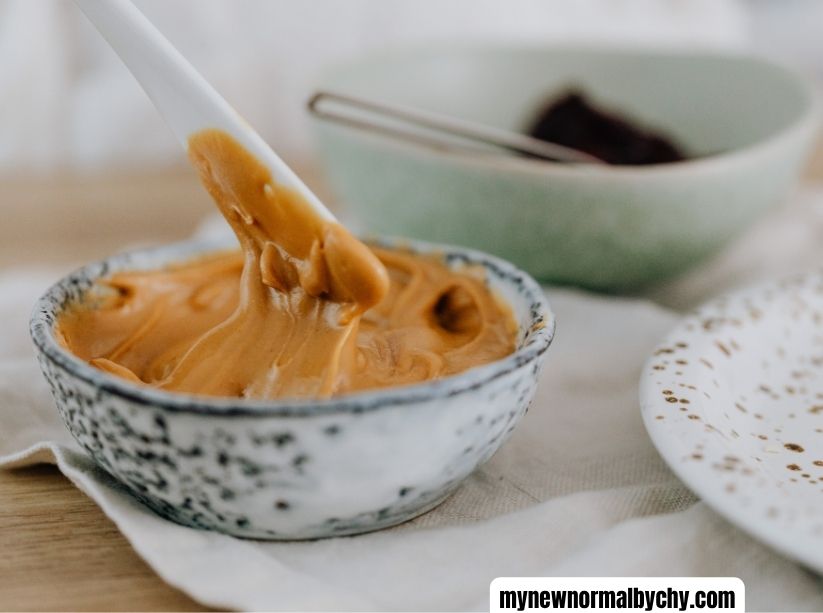
Thinned Smooth Peanut Butter (Introduce With Care)
Ingredients:
- 1 teaspoon smooth, unsweetened peanut butter (no added sugar, salt, or hard pieces)
- 2 to 3 teaspoons warm water, breast milk, or formula
Steps:
- Speak with your pediatrician before your baby’s first peanut introduction, especially if your baby has eczema or a known food allergy.
- Measure the smooth peanut butter into a small, clean bowl.
- Gradually whisk in the warm water, breast milk, or formula until the mixture is thin and completely smooth, with no thick or sticky clumps.
- Offer a very small amount first, about a quarter teaspoon, using a clean spoon.
- Wait and observe your baby closely for at least 2 hours after this first introduction, watching for any signs of a reaction.
- If there is no reaction, you can gradually offer it again in the following days, as advised by your pediatrician, increasing the amount slowly over time.
- Never offer chunky peanut butter, whole peanuts, or any nuts in pieces, as these are serious choking hazards for babies and young toddlers.
6. Plain Whole-Milk Yogurt
Plain, unsweetened whole-milk yogurt is a great source of calcium, protein, and fat, and dairy in this form is generally introduced earlier than cow’s milk as a drink (which typically isn’t recommended until closer to 12 months).
7. Well-Cooked Eggs
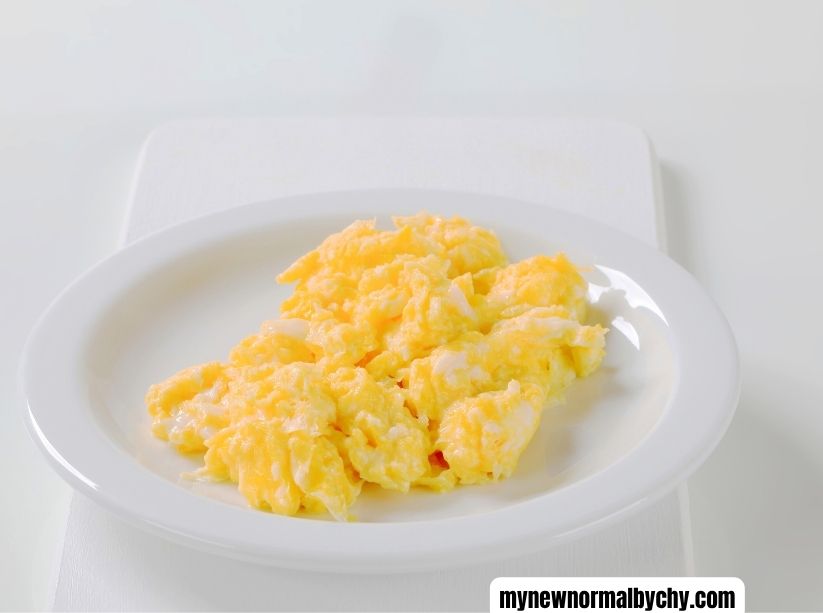
A fully cooked, well-mashed scrambled egg or hard-boiled egg yolk is another allergenic food now recommended for early, intentional introduction, following the same one-at-a-time approach and care described below.
Soft Scrambled Egg
Ingredients:
- 1 whole egg
- A splash of water, breast milk, or formula (optional)
Steps:
- Crack the egg into a small bowl and whisk thoroughly.
- Add a small splash of water, breast milk, or formula if you’d like a softer texture, and whisk again.
- Pour into a lightly greased non-stick pan over low heat.
- Cook slowly, stirring gently, until the egg is fully cooked through with no runny or wet parts remaining.
- Allow to cool, then mash thoroughly with a fork into small, soft pieces appropriate for your baby’s stage, or puree for a younger baby just starting solids.
- Serve at a safe, lukewarm temperature.
Kid-Friendly Summer Salad Picky Eaters Will Actually Eat
Budget-Friendly Family Meal Planning Ideas
Time Management Tips For Stay-At-Home Moms
A Simple First-Week Feeding Idea (For Illustration Only)
To help this feel less abstract, here’s an example of how a first week of solids might look. This is purely illustrative — your pediatrician’s specific guidance should always take priority over any general example like this one.
- Day 1–3: Iron-fortified oat cereal, very thin consistency, once daily
- Day 4–6: Continue oat cereal, introduce pureed sweet potato
- Day 7–9: Continue prior foods, introduce mashed avocado
- Day 10+: Begin introducing pureed meats and, with your pediatrician’s guidance, allergenic foods like thinned peanut butter and well-cooked egg, one at a time, a few days apart
Again, every baby’s pace is different, and there’s no single “correct” order beyond prioritizing iron-rich foods early and introducing common allergens with appropriate care and guidance.
Important Safety Rules
This section matters more than any recipe.
1. Never give honey to a baby under 12 months, in any form, not in food, not on a pacifier, not “just a little.”
This is a guideline from both the CDC, which advises not adding honey to a baby’s food, water, formula, or pacifier before 12 months, and the American Academy of Pediatrics. Honey can contain spores that cause infant botulism, a serious illness, in babies under one year old. This includes cooked or baked goods that contain honey.
2. Avoid common choking hazards entirely
until your baby is much older and has the chewing skills to manage them safely. This includes whole grapes, whole nuts, popcorn, raw hard vegetables like raw carrot chunks, chunks of hard cheese, large pieces of meat, and hot dog rounds. Always cut food appropriately for your baby’s age and stage, and always supervise every single feeding without exception.
4. Introduce one new food at a time,
Introduce one new food at a time, 2 to 3 days before introducing another new food, especially with allergenic foods. This makes it far easier to identify the cause if a reaction does occur.
5. Always feed your baby in an upright seated position,
never lying down or reclined, and never leave your baby unattended while eating.
6. Watch closely for allergic reaction symptoms
after introducing a new food, including hives, facial swelling, vomiting, persistent coughing, wheezing, or unusual fussiness or lethargy. If you notice signs of a severe reaction — difficulty breathing, swelling of the face or throat, or sudden limpness — seek emergency medical care immediately.
7. Texture should progress gradually
starting with thin purees, moving to thicker purees, then mashed and soft lumpy textures, and eventually soft finger foods, generally over the weeks and months that follow, guided by your baby’s own progress and your pediatrician’s advice.
8. Always consult your pediatrician
before starting solids and before introducing major allergens, particularly if your baby has eczema, a family history of food allergies, or any other relevant medical history.
How I Make $1500 As Stay-At-Home Mom Teaching English Online
Affordable Birthday Gift Ideas For Moms Under $25
Gentle Parenting Strategies For Handling Toddler Tantrums
A Few Encouraging Final Thoughts
Starting solids is messy. It is going to involve food on the floor, food in your baby’s hair, and faces that suggest you’ve just served them something offensive, even when you haven’t. All of this is completely normal.
Try not to measure success by how much your baby eats in these early weeks. At this stage, solids are mostly about practice — learning to move food around the mouth, experiencing new tastes and textures, and slowly building skills. Breast milk or formula will remain the primary source of nutrition for a while yet.
Go at your baby’s pace, keep safety at the center of every feeding, and don’t hesitate to reach out to your pediatrician with questions along the way. This is a big milestone, but it’s one you and your baby will move through together, one small spoonful at a time.
Frequently Asked Questions About Starting Solids
What is the best first food for a baby starting solids?
There isn’t one perfect first food for every baby. Some of the best first foods include avocado, sweet potato, banana, oatmeal, pears, carrots, and pumpkin because they are soft, easy to digest, and packed with nutrients. The best choice is one that is age-appropriate, prepared safely, and well-tolerated by your baby.
Should I start with vegetables or fruits?
You can start with either vegetables or fruits. Research does not show that introducing fruits first causes babies to reject vegetables later. The most important thing is to offer a variety of healthy foods and expose your baby to different flavors and textures over time.
How much solid food should a 6-month-old eat?
When first starting solids, most babies only eat 1–2 teaspoons of food once a day. As your baby becomes more comfortable with eating, you can gradually increase the amount and frequency. Remember that breast milk or formula should still be your baby’s primary source of nutrition during the first year.
How do I know if my baby is allergic to a food?
Signs of a food allergy may include:
- Hives or rash
- Swelling of the lips, face, or tongue
- Vomiting
- Diarrhea
- Wheezing or difficulty breathing
If you notice any severe reaction, seek emergency medical attention immediately. Introduce new foods one at a time and wait 3–5 days before offering another new food.
Disclaimer
This article is intended for educational and informational purposes only and should not be considered medical advice. Every baby is different, and nutritional needs may vary. Always consult your pediatrician, family doctor, or a qualified healthcare professional before introducing solid foods or making significant changes to your baby’s diet, especially if your child has known allergies, medical conditions, or feeding difficulties.
Leave a Reply