
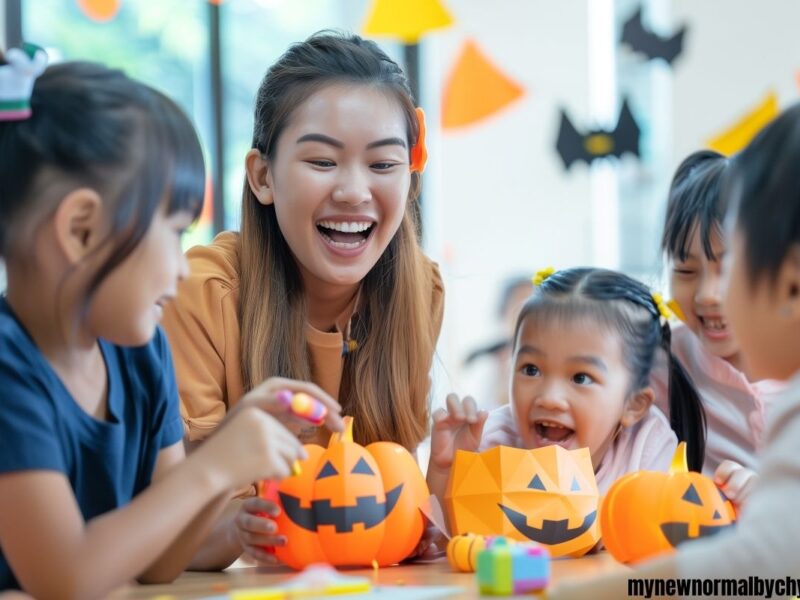
Halloween is one of the most magical times of the year, pumpkins glow, ghosts peek around corners, and the air is filled with both spookiness and excitement. But as fun as decorating your home can be, it can also become overwhelming, especially when you’re a parent trying to juggle family life. To be honest, you don’t have to do it alone.
In fact, kids love being part of the fun! By letting them help with DIY Halloween decorations, you’re not only creating a festive home, you’re also encouraging creativity, fine motor skills, and lasting family memories. And don’t worry, these ideas are simple, safe, and totally do-able, even for toddlers and younger kids.
At this point, go ahead and grab your glue sticks, paints, and maybe a little glitter, we are about to make this Halloween both spooky and special
Benefits of Making DIY Halloween Decorations With Your Kids
- Encourages creativity: Kids get to think outside the box while crafting.
-
Improves fine motor skills: Cutting, gluing, painting, and threading all help with early learning development.
-
Budget-friendly: You can decorate your entire home with inexpensive or recycled materials.
-
Builds family traditions: These projects can easily become part of your yearly Halloween traditions.
-
Keeps kids engaged: Rather than endless screen time, they’re actively involved in something fun.
Safety Measures When Crafting with Kids
- Always supervise when using scissors, hot glue, or small objects.
-
Swap out sharp tools with kid-safe alternatives (e.g., safety scissors, non-toxic glue).
-
Choose paints and markers that are washable.
-
Cover work areas with old newspapers or a disposable tablecloth for easy cleanup.
-
Encourage creativity, not perfection, let kids explore freely!
15 DIY Halloween Decorations Kids Can Help Make
Below are detailed, step-by-step ideas, each one practical, fun, and easy for children to help with.
1. Paper Plate Pumpkins
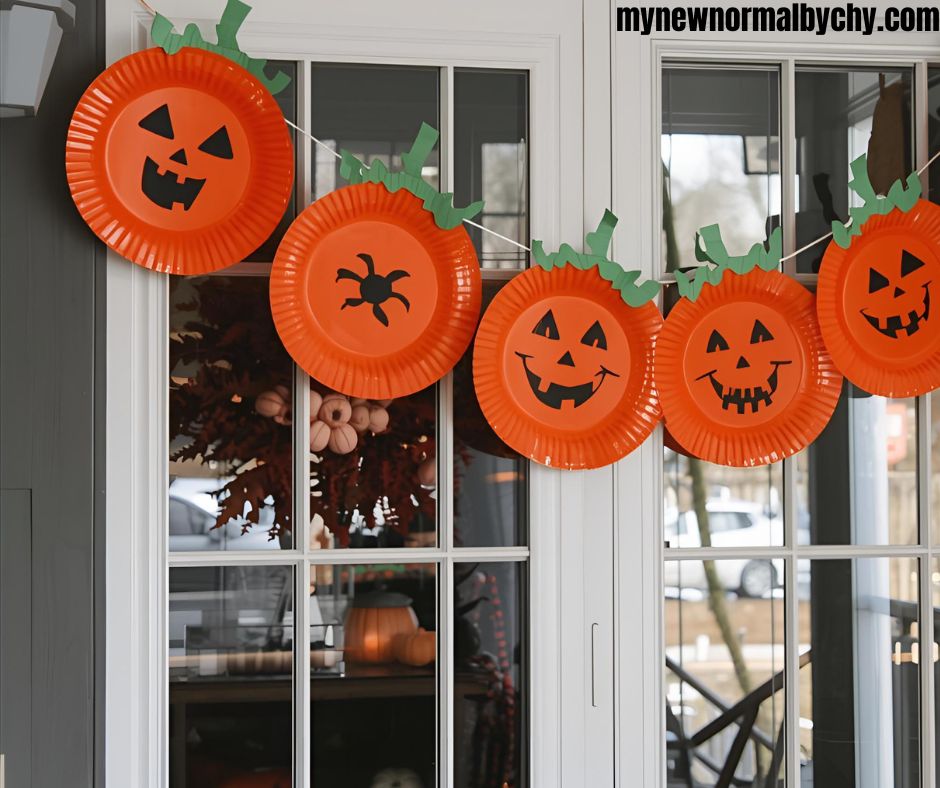
Materials:
Paper plates, orange paint, green construction paper, black markers/scissors.
How to Make:
- Paint the plates orange and let them dry.
-
Cut out green stems and leaves and glue them on top.
-
Draw jack-o’-lantern faces with a marker.
-
Hang or display on walls or windows.
2. Handprint Ghosts
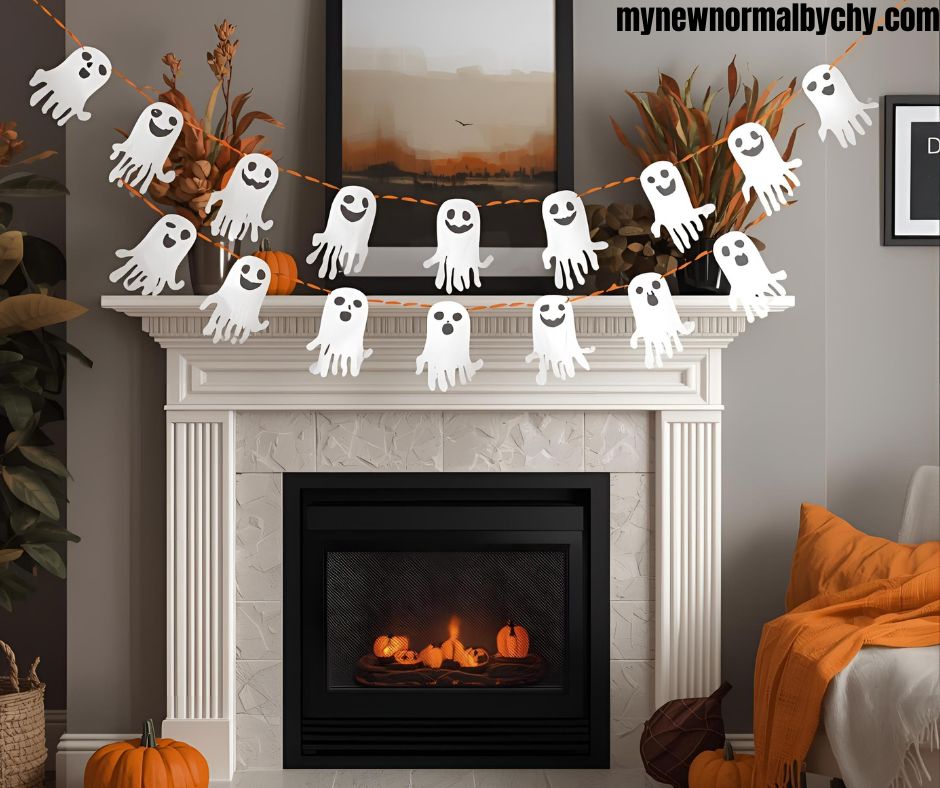
Materials: Black paper, white paint.
How to make
Have your child place their hand (or yours!) on the white paper with fingers slightly spread.
Trace around it using a pencil. This will form the basic shape of your ghost, the fingers will look like the ghost’s “floating” edges.
For an extra spooky effect, trace hands of different family members, big and small ghosts together look so cute! Then, cut out each traced handprint carefully. If your child is old enough, let them help with safety scissors, they’ll love seeing their “ghost” come to life!
After that, turn the handprint upside down so the fingers now face downward. The thumb and fingers will look like the ghost’s trailing body, and the wrist area becomes the head.
Use a black marker to draw two oval eyes and a round mouth, or stick on googly eyes for a cute, bouncy look.
- String them up:
Punch a small hole near the top (the “head” part) and thread a piece of string or yarn through it.
Now you can hang your ghosts:
- From the ceiling
- On a Halloween garland
- Along doorways or windows
To make this extra fun, line up several handprint ghosts across a single piece of twine and write each family member’s name on their ghost’s “body”.
3. Toilet Roll Bats
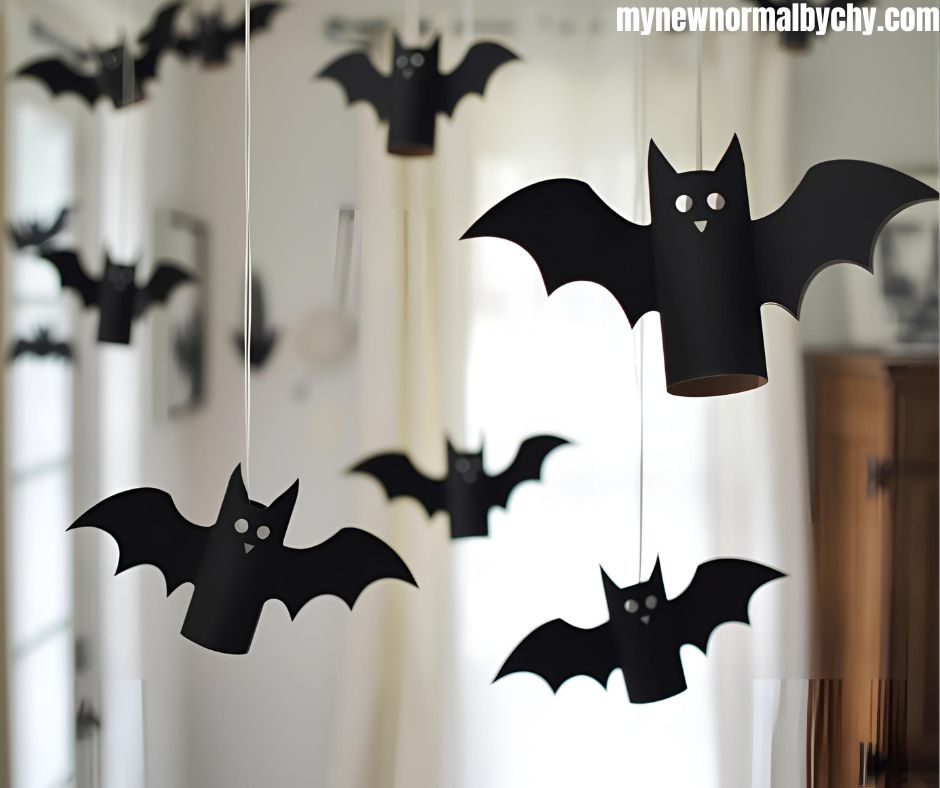
Materials:
Toilet paper rolls, black paint, paper wings.
How to Make:
- Paint the rolls black and let them dry.
-
Cut out wings from black paper and glue them to the sides.
-
Glue on googly eyes and draw fangs or smiles.
-
Thread a string through the top to hang them upside down!
4. Pumpkin Mason Jar Lanterns
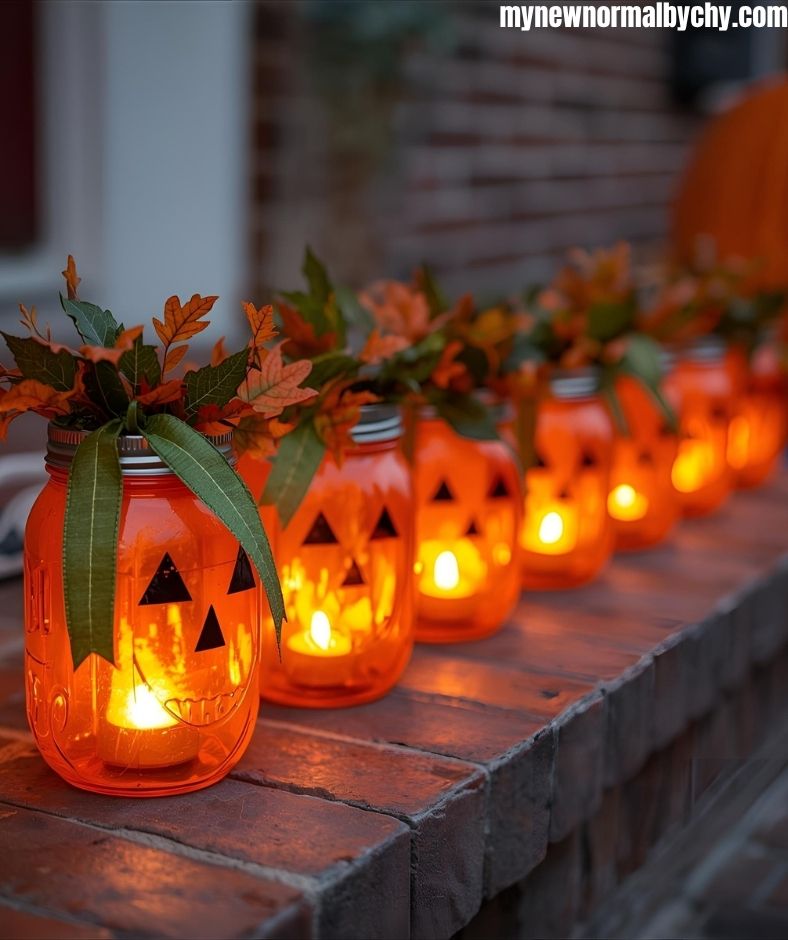
Materials:
Mason jars, orange tissue paper, glue, tea lights (battery-operated for safety).
How to make:
Make sure your mason jars are clean and dry. Remove any labels or residue; This helps the paint or tissue stick better and last longer.
After that, use orange acrylic paint to coat the outside of each jar. Apply two light coats instead of one thick one, it’ll dry faster and look smoother.
Alternatively, you can skip the paint and use orange tissue paper if you are crafting with kids. Just brush Mod Podge on the jar, press tissue squares over it, and seal with another light coat of Mod Podge on top. (It gives a lovely glowing effect when lit!)
Once the jars are completely dried, cut out jack-o’-lantern faces from black paper; triangles for eyes, a toothy grin, or any fun expression your kids come up with!
If you prefer, use black vinyl stickers for a neat, mess-free look.
Once the paint is dry, glue the facial features onto your jars. Let your little ones get creative, each pumpkin can have its own personality!
Next, carefully wrap the jar’s rim with green ribbon, twine, or a green pipe cleaner to resemble the pumpkin’s stem and vine. You can even add a small artificial leaf or a bow for a cute touch.
Finally, now comes the fun part, display your pumpkin lanterns!
Try these ideas:
- Line them up on your front porch or entryway
-
Use them as a table centerpiece
-
Place them on window sills or bookshelves for a warm Halloween glow
-
Group different jar sizes together for a cozy pumpkin patch look!
5. Ghost Garland
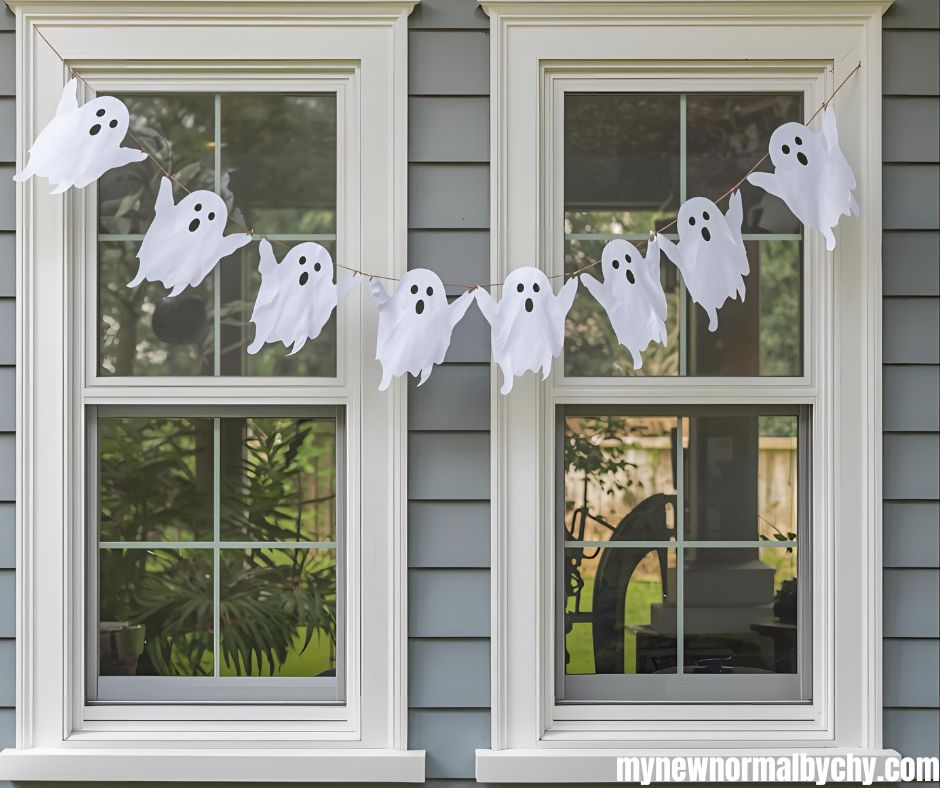
Materials:
White tissue/napkins, cotton balls, string.
How to Make:
- Place a cotton ball in the center of a tissue.
-
Wrap and tie with a string to form the ghost’s head.
-
Draw eyes and mouth.
-
Repeat and tie all ghosts along one string.
-
Hang across mantels or windows.
6. Popsicle Stick Spider Webs
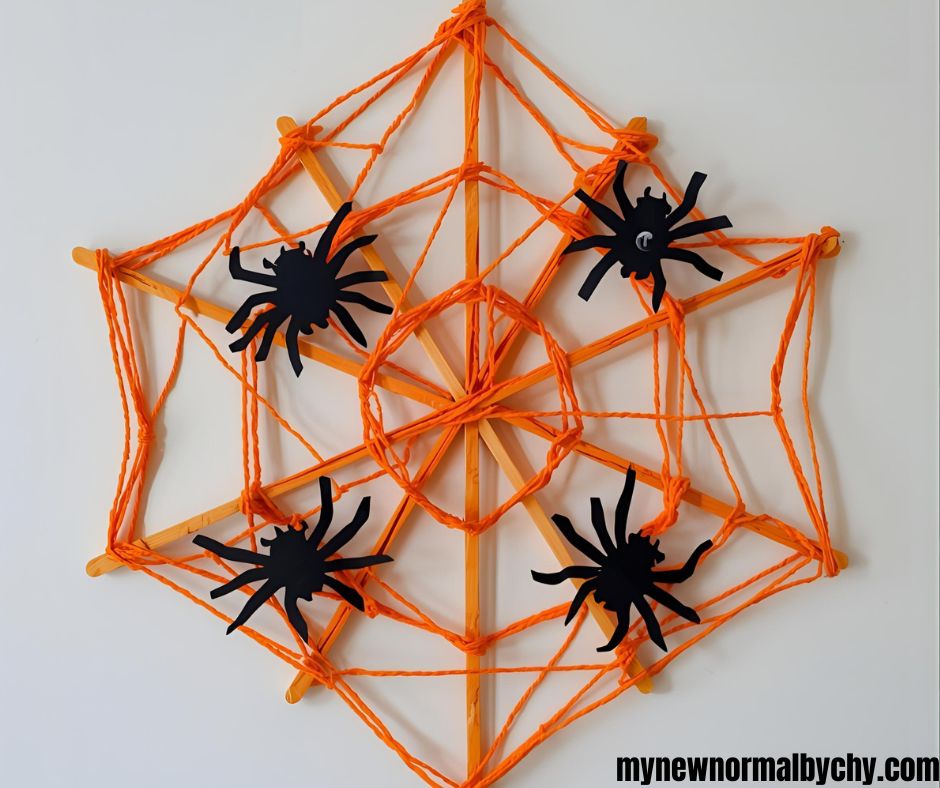
Materials:
Popsicle sticks, white yarn, black paper spiders.
How to make
- Glue the popsicle sticks together in a star shape and let them dry.
-
Tie the yarn around the center and weave it around each stick to form a web pattern.
-
Secure the end of the yarn with a knot or tape.
-
Glue a small plastic spider onto the web’s center for the final touch.
It’s perfect for keeping little hands busy, and you can hang them around the house or even on your front door.
7. Egg Carton Spiders
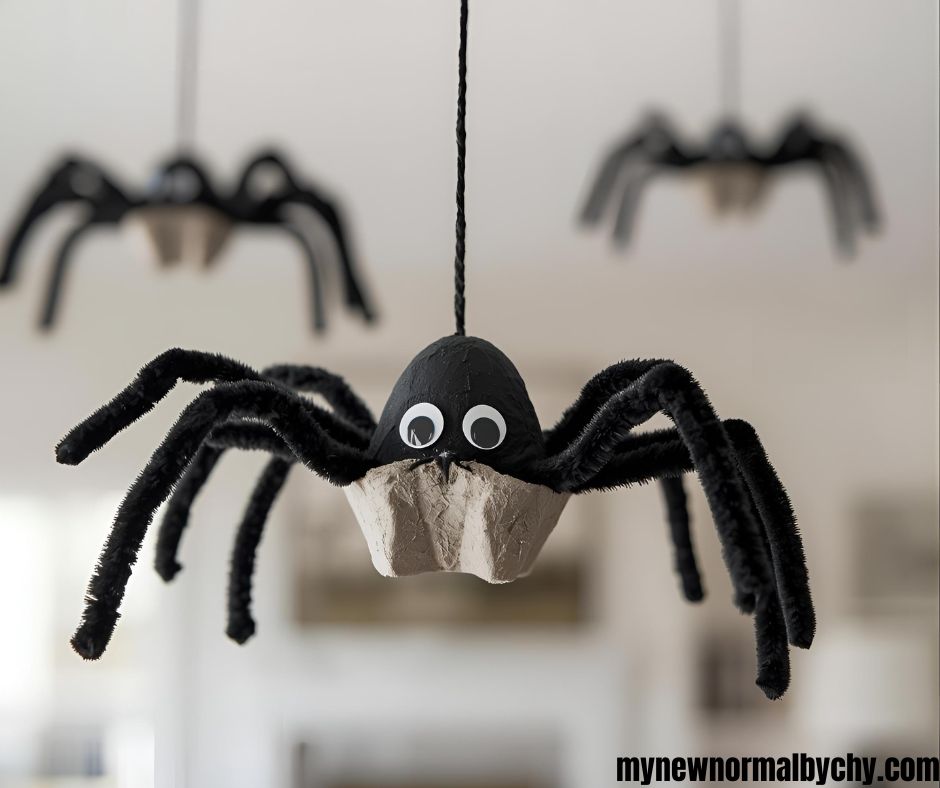
Materials
Egg carton, black paint, paintbrush, googly eyes, pipe cleaners, glue, scissors.
How to Make
- Cut out individual egg cups from the carton.
-
Paint them black and let them dry.
-
Poke four small holes on each side.
-
Insert pipe cleaners as legs and bend them to shape.
-
Glue on googly eyes.
-
Hang them with thread or place them on shelves for a creepy-cute effect!
8. Halloween Window Silhouettes
Materials
Black construction paper, scissors, chalk or pencil, tape, and white tissue paper (optional).
How to Make
- Draw spooky shapes (cats, witches, ghosts, bats) on black paper.
-
Cut them out carefully.
-
Tape them to your window.
-
For a glowing effect, stick white tissue paper behind the shapes.
9. Pumpkin Stress Balls
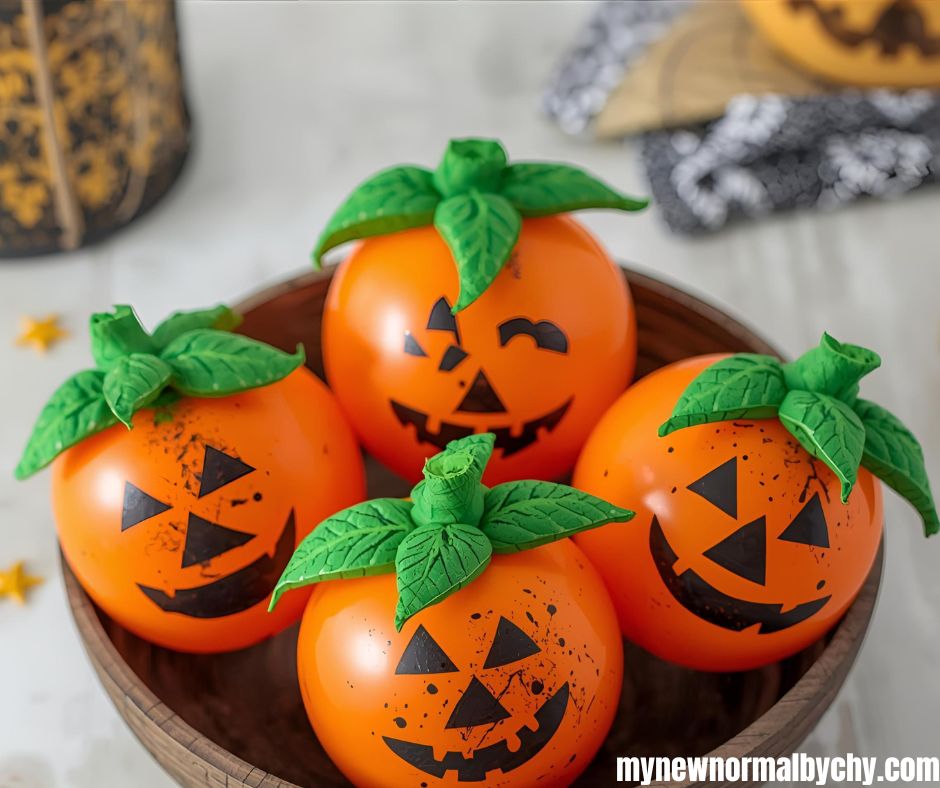
Materials
Orange balloons, rice/flour, markers.
How to make:
- Stretch the balloon and fill it with flour or rice using a funnel.
-
Tie it tightly to seal it.
-
Draw a jack-o’-lantern face with a black marker.
-
Wrap green yarn around the top to create a stem.
These squishy pumpkins are safe, easy to make, and perfect for calming little hands while adding Halloween cheer.
Place them in a small basket or bowl as cute tabletop decorations, arrange several together on a tray with fairy lights for a cozy Halloween glow or use them as party favors for trick-or-treat events or Halloween school parties.
10. Paper Cup Ghosts
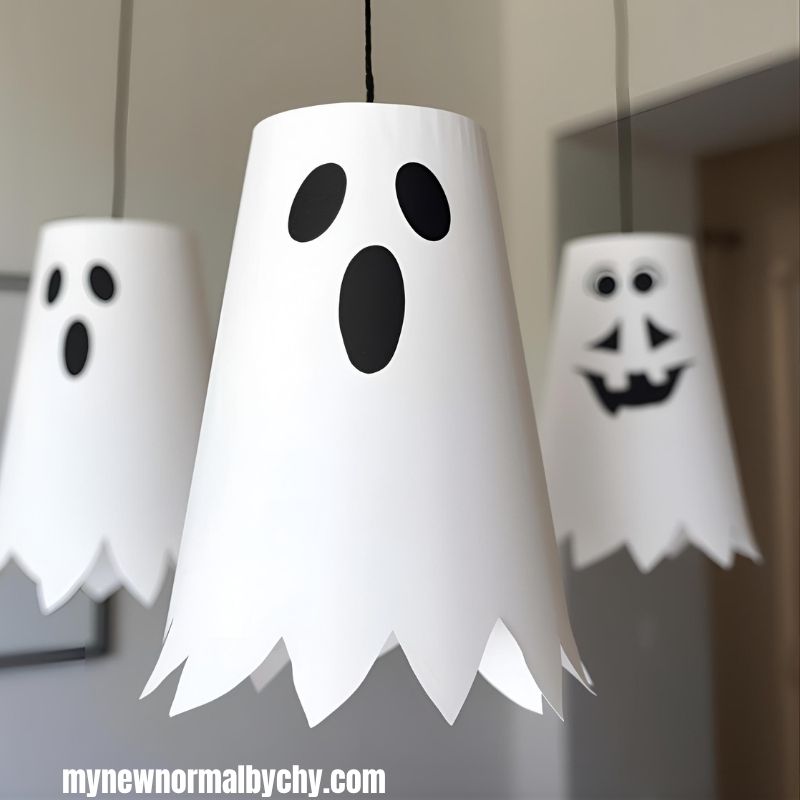
Materials:
White paper cups, black marker, string.
How to Make:
- Turn the cups upside down.
-
Draw ghost faces on the cups.
-
Cut strips of crepe paper and glue them inside the rim so they hang down.
-
Poke a hole at the top, thread a string, and hang them around the house.
11. Painted Rock Monsters
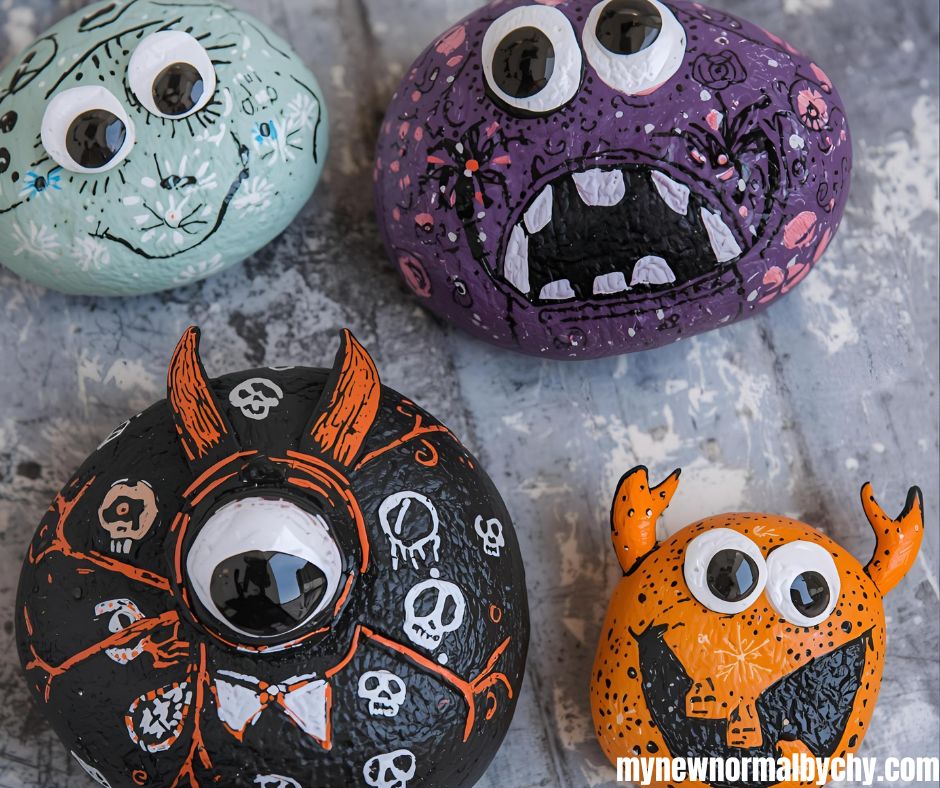
Materials:
Smooth rocks, paint, googly eyes.
How to Make:
- Wash and dry rocks.
-
Paint them with bright monster colors, green, purple, blue, orange.
-
Add faces, teeth, and eyes using paint or markers.
-
Stick on googly eyes for personality!
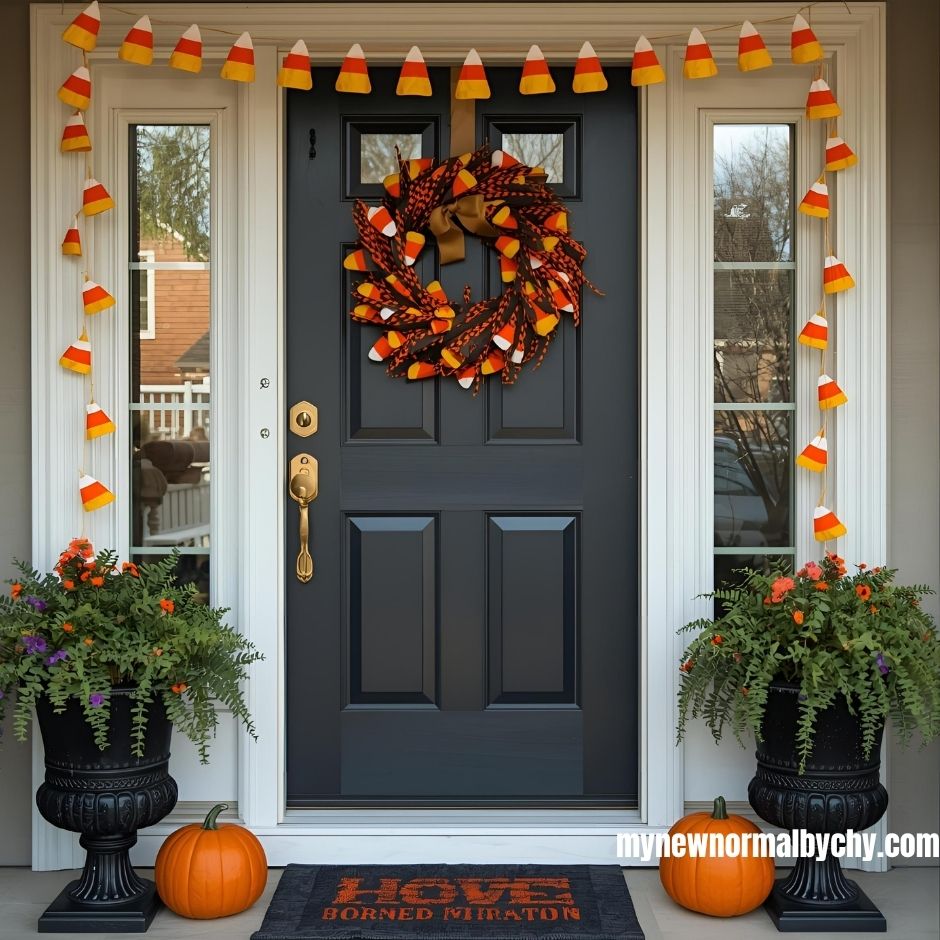
12. DIY Candy Corn Garland
Materials:
Orange, yellow, and white paper, scissors, string.
- Cut large triangles from cardstock.
-
Paint each triangle in candy corn colors (white top, orange middle, yellow bottom).
-
Let them dry, punch holes, and string them up with yarn or twine.
-
Hang across windows, doors, or mantels for a festive touch.
13. Ghost Balloons
Materials:
White balloons, black markers, tissue for draping.
How to Make:
- Blow up the balloons and tie them.
-
Drape white tissue paper or cheesecloth over each balloon.
-
Draw eyes and mouth with a black marker.
-
Hang from ceilings or porches for floating ghost vibes!
14. Halloween Wreath
Materials:
Paper plates, tissue paper, Halloween stickers.
How to Make:
- Cut out the center of a paper plate to form a ring.
-
Paint it black or orange.
-
Glue on ribbons, mini pumpkins, spiders, and Halloween cutouts.
-
Add a string to hang it on your door.
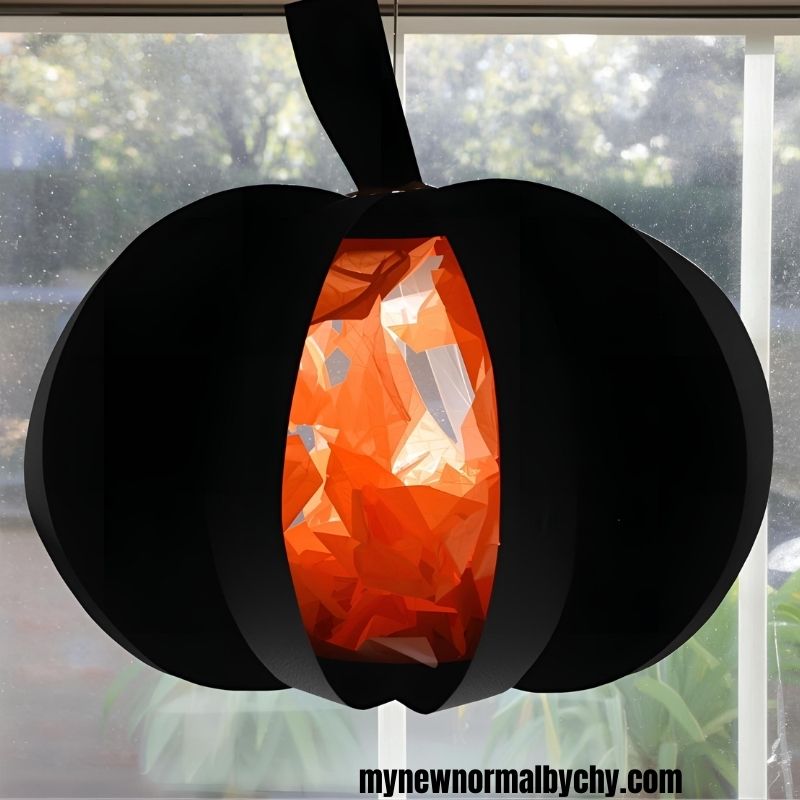
15. Pumpkin Sun Catchers
Materials:
Black construction paper (pumpkin outline), tissue paper, contact paper.
How to Make:
- Cut a pumpkin shape from black paper, leaving a hollow center.
-
Stick it onto clear contact paper.
-
Fill the inside with bits of orange tissue paper.
-
Add black paper eyes and mouth.
-
Seal with another contact sheet and stick it to your window.
Tips to Make DIY Halloween Decorating Stress-Free
- Prep ahead: Cut small pieces of paper, pre-fill paint trays, set up materials.
-
Limit crafts per session: Kids can lose focus—1–2 crafts at a time works best.
-
Create a craft box: Keep basic materials (scissors, glue, paper, tape) ready in one place.
-
Embrace the mess: Creativity = glitter everywhere. Cover surfaces for easier cleanup.
-
Celebrate their creations: Display everything proudly—it boosts their confidence!
Budget-Friendly Crafting Hacks
- Reuse toilet rolls, jars, cartons, and old clothes.
-
Buy dollar-store supplies like googly eyes, tissue paper, and paints.
-
Use nature, sticks, leaves, and rocks can become spooky decorations.
Wrapping It Up
Halloween isn’t just about the candy and costumes, it’s also about making your home feel festive and fun. With these DIY Halloween decorations kids can help make, you’re not just crafting spooky vibes, you’re crafting memories.
So, grab your little monsters and witches, set up a craft station, and let their creativity shine. Who knows? These decorations might just become part of your favorite family traditions year after year.
2 thoughts on “DIY Halloween Decorations You Can Make With kids”