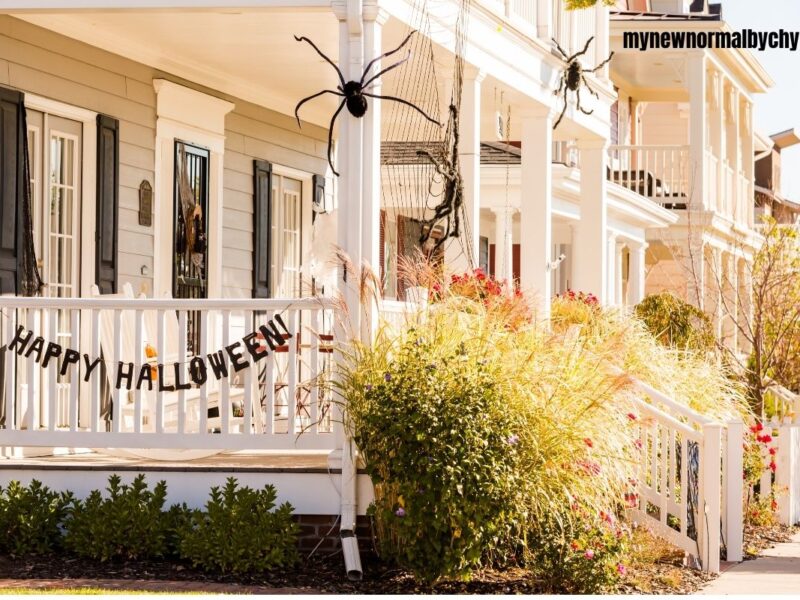
Halloween is one of those magical times of the year when kids can be silly, creative, and completely enchanted by spooky fun! But for teachers (and parents helping out), decorating a classroom can easily turn from “boo!” to “boo-hoo” when glue spills, glitter flies, and cleanup takes hours.
Who says classroom Halloween decorations have to mean glue spills and glitter explosions?These mess-free Halloween classroom decorations are fun, quick, and stress-free, perfect for busy teachers who still want their classroom to feel like a cozy haunted wonderland
1. Paper Ghost Garland
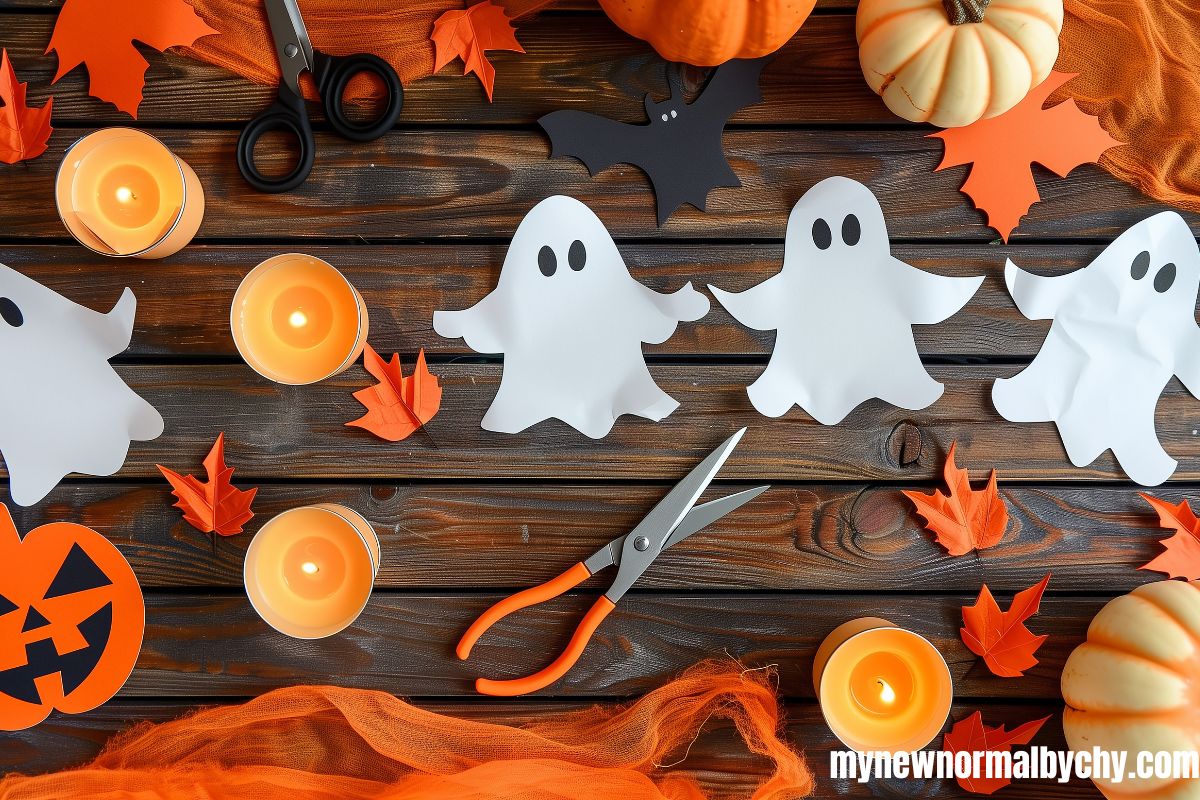
Materials: white copier paper or cardstock, black marker, scissors, hole punch (optional), string/twine, removable tape or clothespins.
Time: 15-25 minutes (class set in 30–45).
Steps
- Fold a sheet of paper in half (hot-dog style) and draw a simple ghost outline that fits inside the page.
-
Cut out the ghost, kids can trace their own outline first.
-
Use a black marker to draw two eyes and a mouth. (Or give each student 1-2 eyes to stick on with glue dots.)
-
Punch a hole at the top of each ghost (or attach with clothespins).
-
Thread string through holes or clip ghosts onto the twine.
-
Hang across the board, above windows, or along a doorway.
With this, cleanup will be super easy. Just wipe the table and done.
2. Toilet Roll Bats
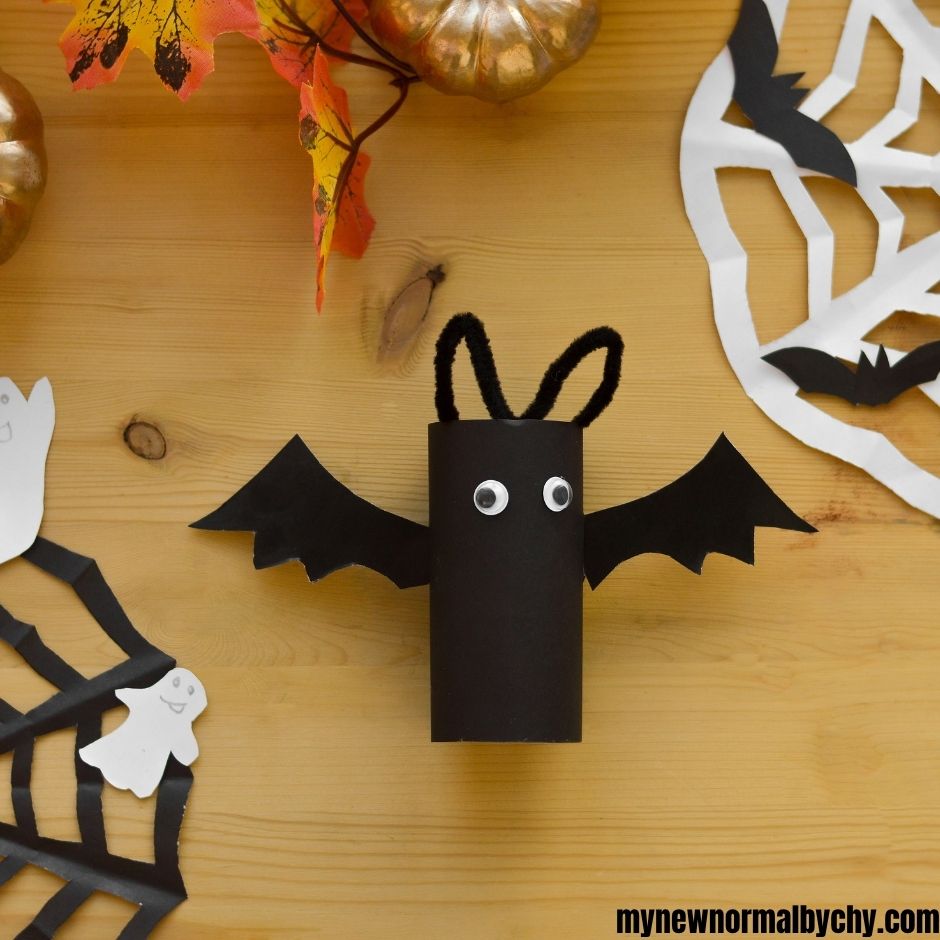
Materials: empty toilet rolls, black construction paper (or black markers), scissors, glue dots or double-sided tape, googly eyes (optional), string.
Time: 10–15 minutes per bat; small groups make multiples quickly.
Steps
- Wrap the roll in black paper and secure with a glue dot or tape. (If using markers, color the roll.)
-
Cut wing shapes from black paper (one pair per bat).
-
Attach wings to the roll’s sides with glue dots.
-
Add googly eyes or draw eyes with marker.
-
Tie a short string to hang upside down from the ceiling or bulletin board.
Clean up paper scraps only by tossing or recycling.
3. Paper Cup Ghosts
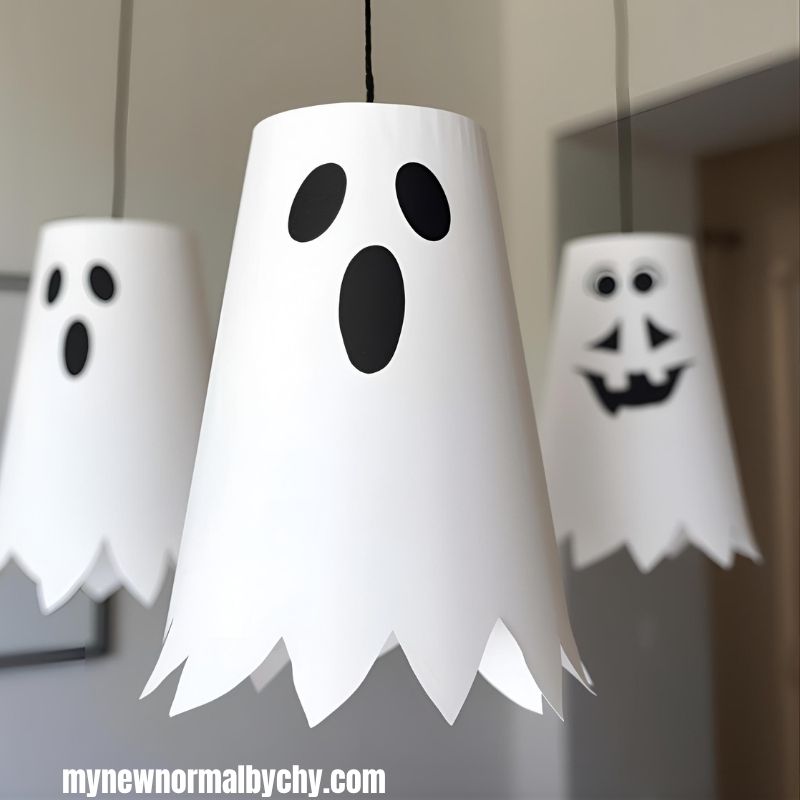
Materials: white paper cups, black marker, white crepe paper strips or ribbon, tape or glue dots, string for hanging.
Time: 10 minutes each.
Steps
- Turn a white cup upside down.
-
Draw a face with the black marker (two eyes + mouth).
-
Tape crepe paper or ribbon strips inside the cup rim so they hang like a ghost tail.
-
Tie string around the cup rim or poke a tiny hole and thread string to hang.
Cleanup is minimal since there’s no paint, just collect scraps.
4. Popsicle Stick Spider Webs
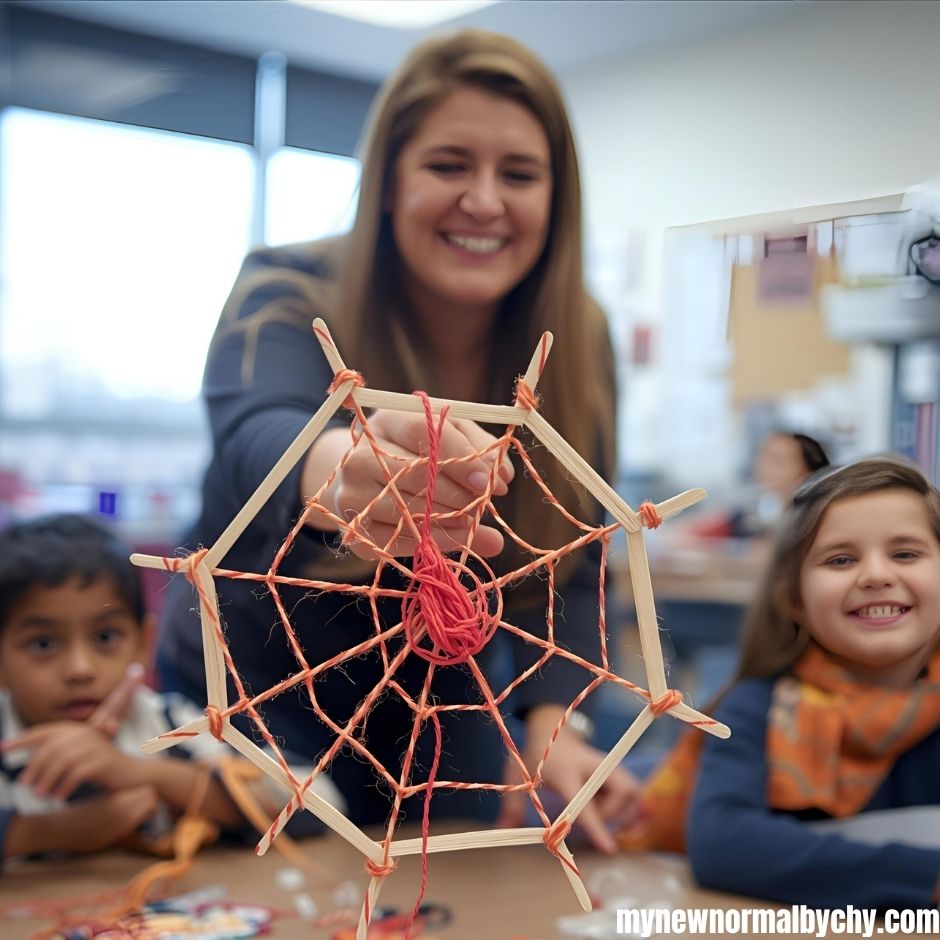
Materials: 3 popsicle sticks per web, white yarn, removable glue dots or tape, small plastic spider or paper spider cutout.
Time: 10-20 minutes per web.
Steps
- Arrange three sticks in an asterisk (*) and secure the center with a strong glue dot or two pieces of tape on both sides.
-
Tie yarn to the center knot.
-
Wrap the yarn outwards in a circular pattern: loop around one stick, go to the next, continue until the web reaches the stick edges. Keep loops evenly spaced.
-
Tie off and trim excess yarn.
-
Attach a plastic spider with a glue dot or tuck a paper spider into the yarn.
After this decoration, all you need to do is keep a small box for leftover yarn to reuse.
5. Pumpkin Sun Catchers (Contact Paper)
Materials: clear contact paper, black construction paper (pumpkin outline), orange tissue paper squares, scissors, tape.
Time: 15-25 minutes.
Steps
- Cut contact paper to small squares (safe teacher job). Peel backing and lay sticky side up on the table.
-
Place a black paper pumpkin frame on the sticky contact paper (frame = pumpkin silhouette with hole in middle).
-
Give each student small orange tissue squares to place inside the pumpkin opening, covering the sticky part. Children press down to secure.
-
Top with a second contact sheet to seal (sticky sides together).
-
Trim around the pumpkin and add a loop with tape to hang in the window.
Cleanup: Simple paper cleanup; tissue scraps go in recycling.
6. Ghost Balloons
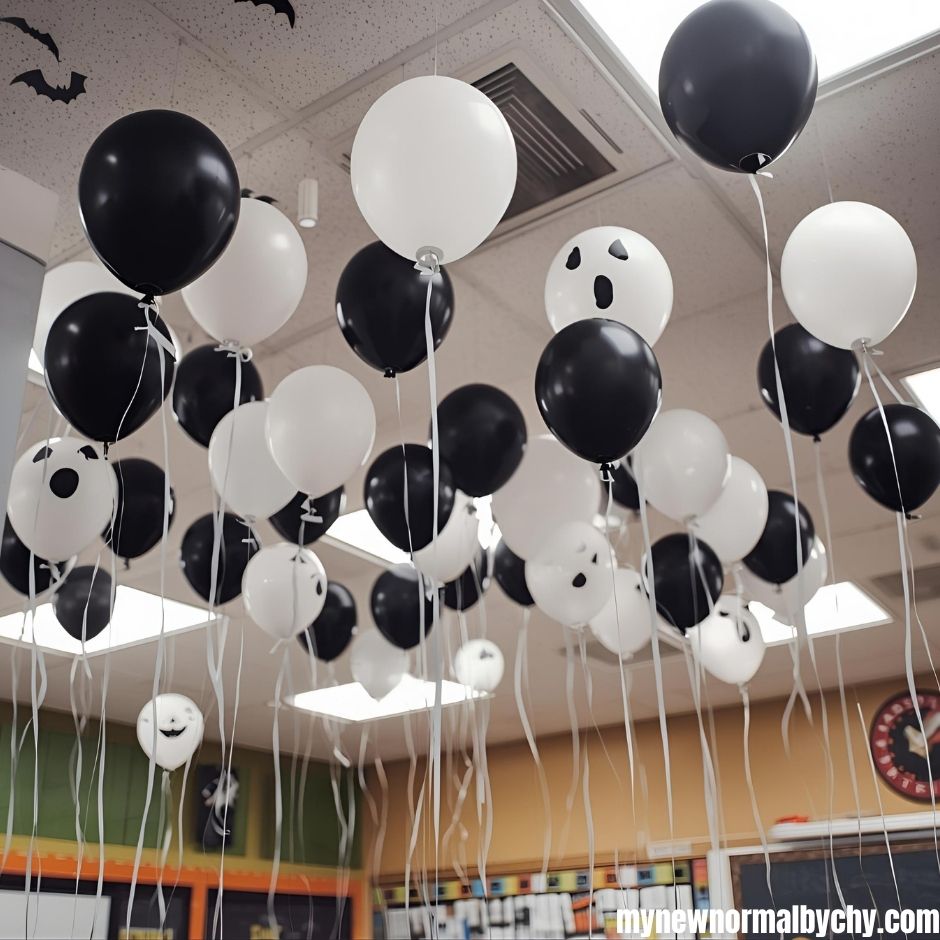
Materials: white balloons, black permanent marker, white ribbon or curling ribbon, tape.
Time: 5-10 minutes each
Steps
- Inflate balloons to desired size and tie.
-
Draw simple ghost faces (two eyes, mouth) with the marker.
-
Tie ribbon to the knot and tape to the ceiling or hang from string.
Cleanup: Deflate/puncture and recycle balloons (if allowed) after use.
7. Halloween Window Silhouettes
Materials: black construction paper, scissors, templates (bats, cats, pumpkins), removable tape.
Time: 20-30 minutes for a full set.
Steps
- Print or draw simple silhouette templates for kids to trace.
-
Students trace the shapes onto black paper and cut them out. (Teachers can pre-cut for younger students.)
-
Use removable tape to place silhouettes on the windows; arrange for a pleasing composition.
Cleanup: Remove tape and store silhouettes flat for next year.
8. DIY Candy Corn Garland
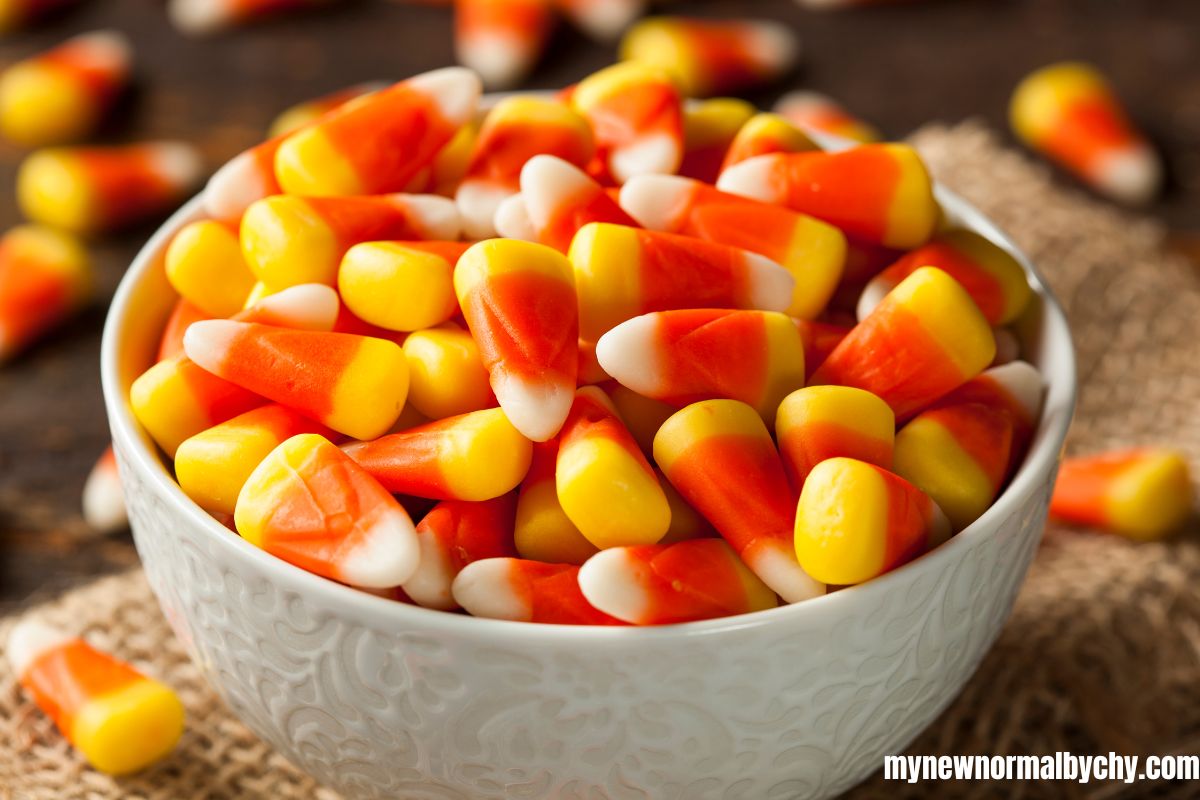
Materials: orange, yellow, white cardstock, scissors, hole punch, string, tape.
Time: 20-30 minutes for a class garland.
Steps
- Pre-cut triangles from each color or let older students cut.
-
Stack three triangles (white top, orange middle, yellow bottom) and staple/tape or use glue dots to join; or make one larger triangle and color bands.
-
Punch holes at the top and string them on twine to form a garland.
-
Hang across the room or along a shelf.
Cleanup: Cardstock scraps only to recycle.
9. Egg Carton Spiders
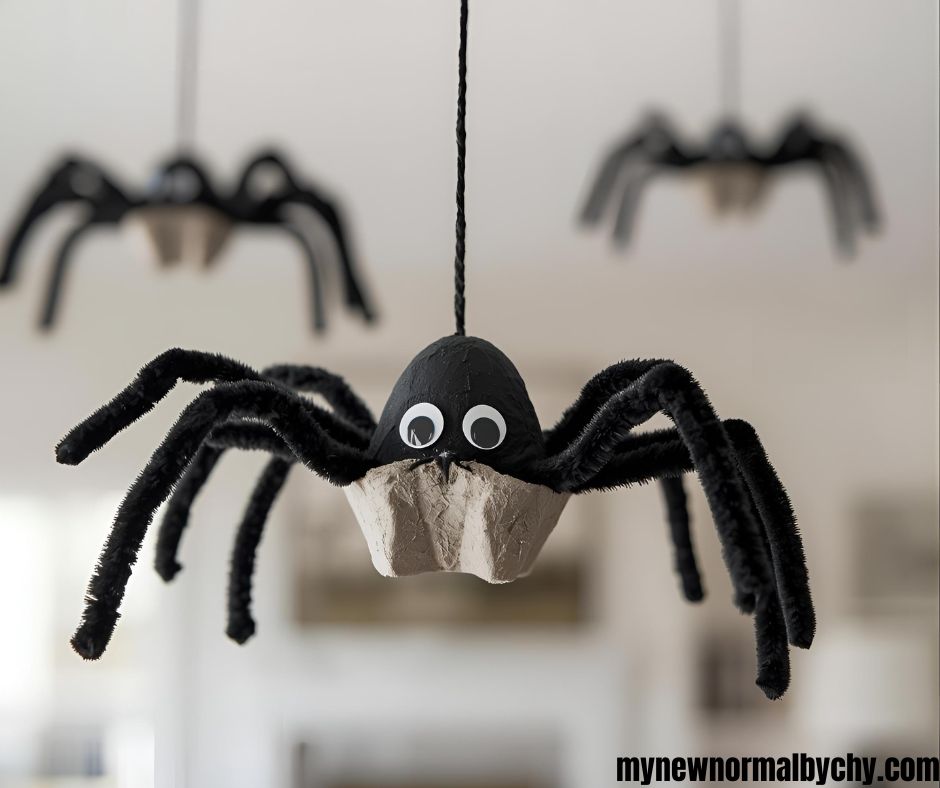
Materials: egg cartons, black marker, pipe cleaners, glue dots or double-sided tape, scissors, googly eyes (optional).
Time: 15-20 minutes.
Steps
- Cut the egg carton into individual cups (teacher prep for safety).
-
Color or cover the cup black using markers or black paper wrapped and taped.
-
Poke four small slits on each side or tape pipe cleaners for legs (eight legs total).
-
Bend pipe cleaners to shape the legs and secure them with a glue dot or tape.
-
Add googly eyes or draw eyes with a marker.
Cleanup: Recycle egg cartons; keep pipe cleaners in craft bin.
10. Halloween Wreath (Paper Plate Base)
Materials: paper plates (center cut out), colored paper shapes (pumpkins, bats, ghosts), glue dots or double-sided tape, ribbon for hanging.
Time: 20-30 minutes.
Steps
- Cut the center out of a paper plate (teacher prep if needed).
-
Students decorate the outer ring with pre-cut shapes using glue dots or tape.
-
Add layered pieces for texture (paper fringe, small bows).
-
Attach a ribbon loop to hang on the door.
Cleanup: Paper scraps, sweep and recycle.
11. Handprint Ghosts; mess-free method (no paint)
Materials: white construction paper, black marker, pencil, scissors, tape/string.
Time: 10-15 minutes.
Steps
- Trace each student’s hand on white paper with pencil (teacher or buddy tracing).
-
Cut out the traced hands and turn them upside down to form ghosts.
-
Use a black marker to add faces and cute expressions.
-
Hang as a “ghost family” garland or display on a bulletin board.
If you prefer the painted keepsake version, check this out! (but the contactless paper method above is totally mess-free).
Classroom Decorating Tips (That Save You Time and Sanity)
- Go Reusable: Store decorations in a labeled box for next year, saves time and money.
-
Stick to Tape or String: Skip staples and glue; they’re faster to remove and don’t damage walls.
-
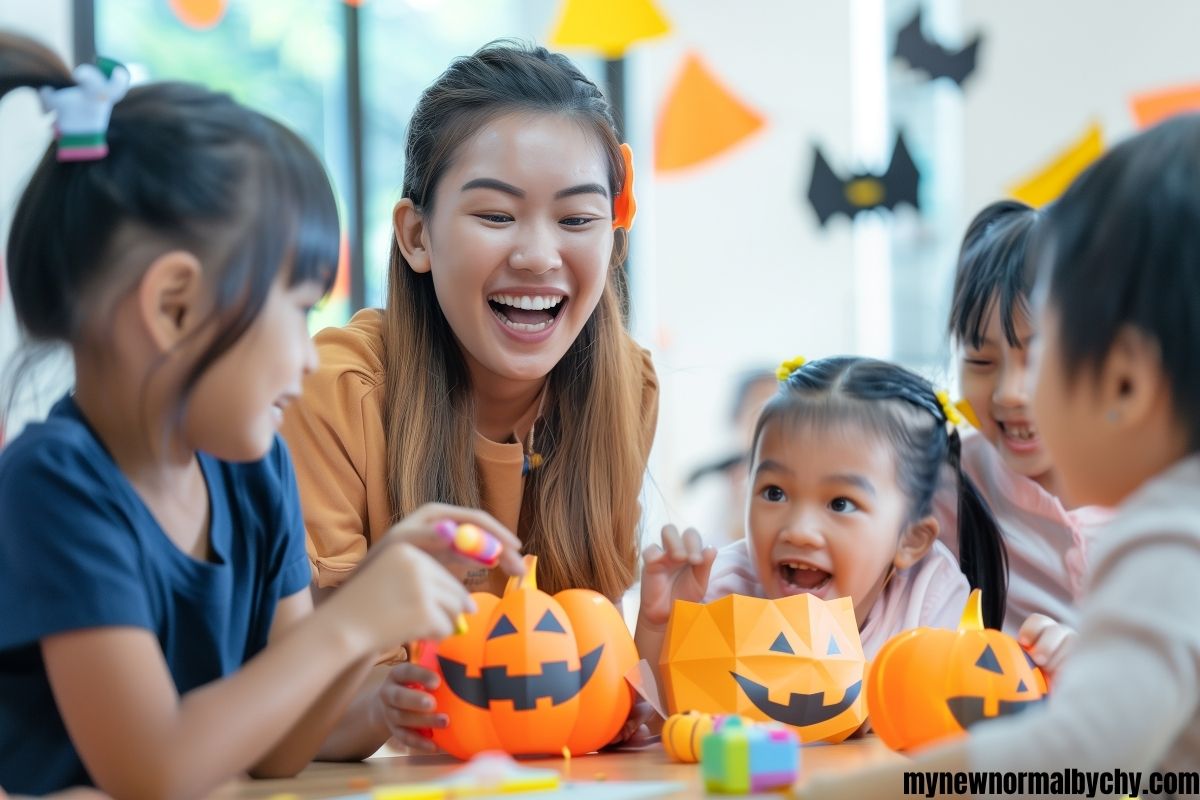
Involve the Kids: Turn decorating day into a mini art session or Friday fun activity.
-
Keep It Simple: Choose 3 main decor types (like garlands, windows, and corners) to avoid overwhelm.
Quick classroom prep & management tips (so this feels easy)
- Prep kit: Pre-cut shapes, pre-punch holes, and pre-sort materials into zip bags. Student stations run faster this way.
-
Stations: Divide the craft into 3-4 stations (cut, decorate, assemble, hang). Rotate groups every 10-12 minutes.
-
Cleanup crew: Create a 3-minute “craft reset” at the end, one group sweeps, one collects scraps, one packs materials. Make it a fun role.
-
No-glitter rule: Glitter looks great in photos but never disappears, avoid it for classrooms.
-
Safety: No hot glue with young kids. Use glue dots, tape, or glue sticks only.
Remember
Halloween classroom decorating doesn’t have to be messy, expensive, or exhausting. With these simple and mess-free ideas, you’ll create a festive space that sparks joy without the chaos.
Remember, what kids will remember most isn’t the glitter or the perfect pumpkins, it’s the laughter, the teamwork, and the excitement of creating something together.
So grab your paper, scissors, and markers, and let’s make this Halloween a “spooktacular” (and tidy) success!