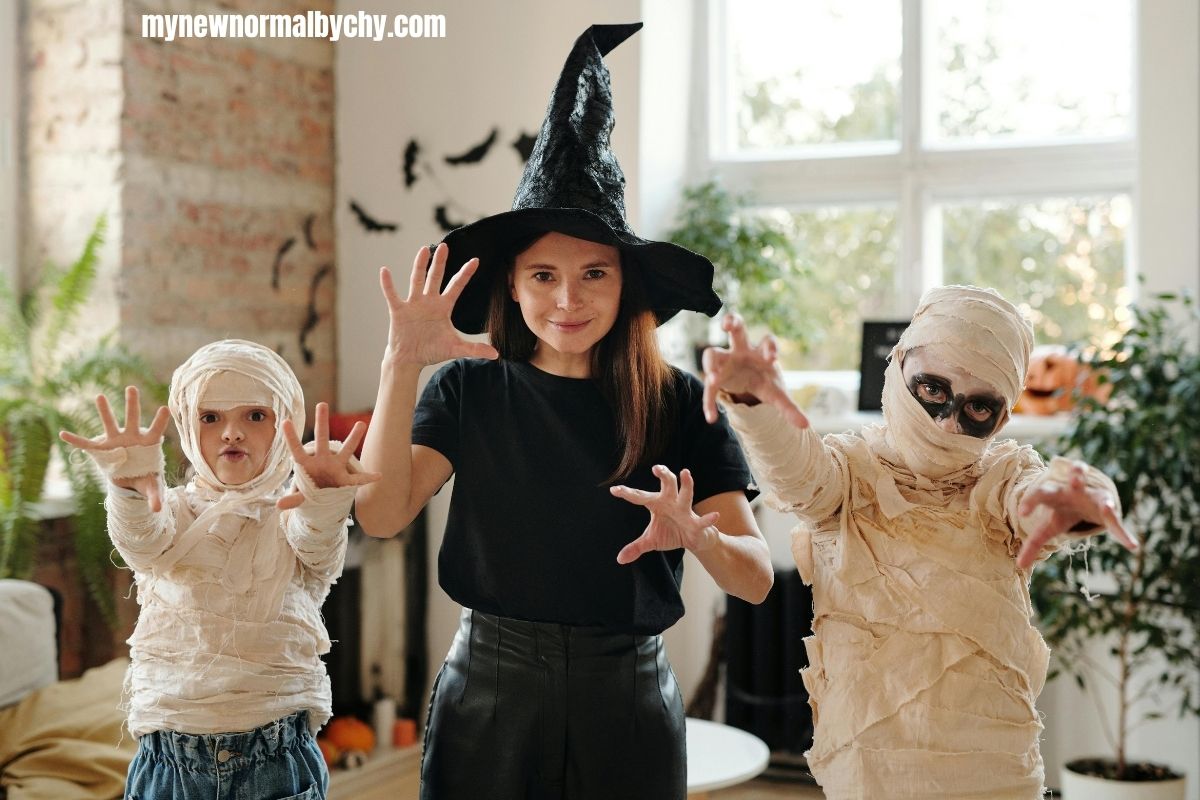
The joy of giving your family a memorable festive experience is truly unmatched. But that doesn’t mean you have to break the bank. I learned firsthand from my elder sister that even on a budget, it’s possible to create an amazing Halloween.
The October before her oldest turned five, she had promised herself that she wouldn’t spend a small fortune on costumes. Over the previous years, she had witnessed exhausted parents in checkout lines, plastic masks that fogged up, and kids who wore the costume once and forgot it. Instead, she and her two adorable kids spread the crafting over a few evenings, used things from around the house, and made something memorable together. What she didn’t expect was how proud her children were of a costume they helped assemble. They didn’t hesitate one minute to announce to everyone how they had crafted their costumes.
These 15 amazing costume ideas that you can create on a budget listed below are for parents who want a similar stress-free and budget-friendly halloween
Supplies to keep on hand
Before we begin, stock a little craft box. You’ll reuse these items across many costumes:
- Safety scissors, kid-safe scissors
-
Glue stick, tacky glue, hot glue (adult use only)
-
Tape (clear & masking)
-
Black marker, washable face paint, eyeliner pencil
-
Construction paper (black, orange, white)
-
Pipe cleaners, googly eyes, yarn
-
Cardboard, old T-shirts, felt scraps
-
Elastic, ribbon, and string
-
A couple of battery tea lights or a small pack of LED string lights
Note: Buying these once at a dollar or craft store will save time and money
1. Classic Ghost (Bedsheet Costume)
Why kids love it: It’s timeless, goofy, and perfect for toddlers to early elementary.
Materials: Old white sheet (or pillowcase for toddlers), black felt or marker, scissors.
Estimated cost: $0-$5 (thrift or household).
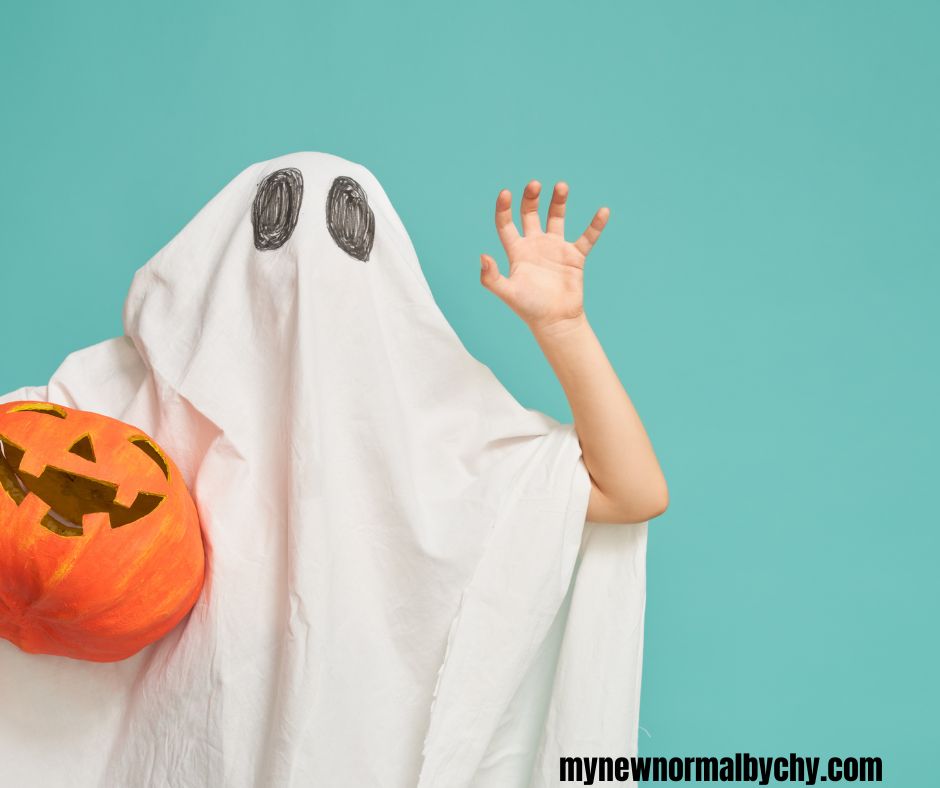
Steps:
- Fold the sheet in half and drape over your child to find the right length. Mark where you want eye holes (should be above the child’s nose, wide enough to see).
-
Cut two eye holes carefully. If you’re nervous, cut small slits, you can always enlarge.
-
Use black felt glued on (or draw with marker) for eyes and a simple mouth.
-
Optional: cut the bottom into a scallop shape for a “tattered” look.
Parent tip: Keep the armholes loose or cut small slits at the sides so toddlers can move easily. For safety, never let the fabric trail on the ground for very young children.
2. Mummy Wrap
Why it works: Super fast, wonderfully tactile, and spooky-cute.
Materials: Old white T-shirt strips, medical gauze, or toilet paper (if dry and reinforced).
Estimated cost: $0-$3.
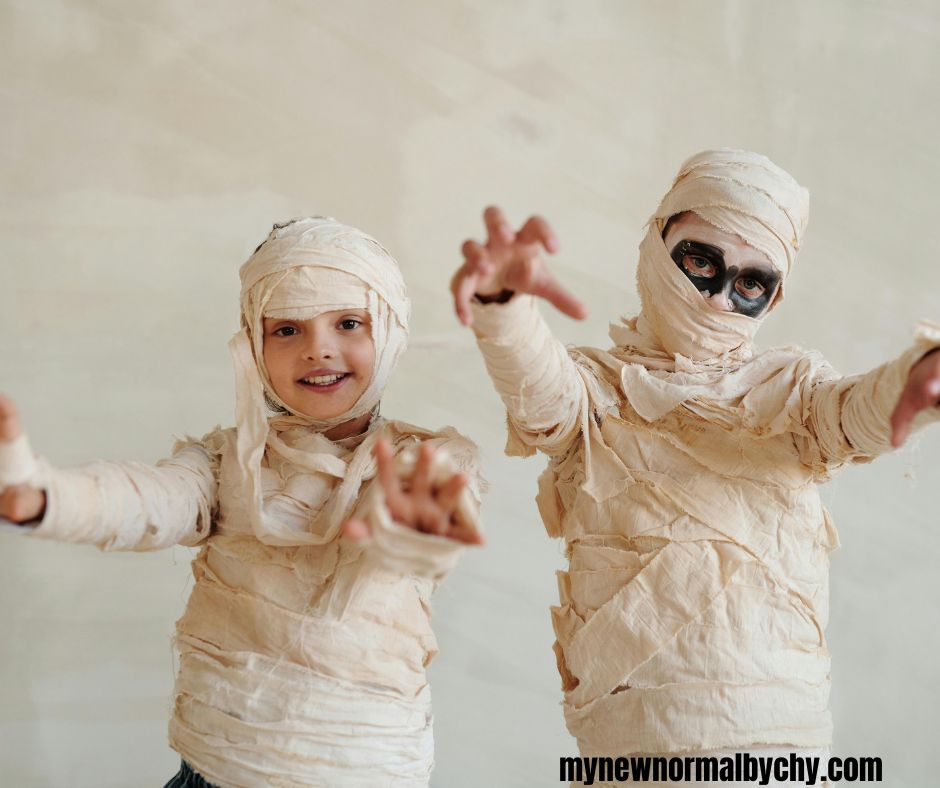
Steps:
- Cut an old white T-shirt into long strips (adult scissors do this fast).
-
Wrap strips loosely around the torso and limbs, don’t wrap too tight. Tuck ends under or secure with a tiny dab of glue/tape.
-
Add a “dirty” look with a tiny smudge of brown or grey face paint.
Variation: For toddlers, use gauze or sewn strips to avoid slipping. Let kids help by holding strips while mom/dad wraps.
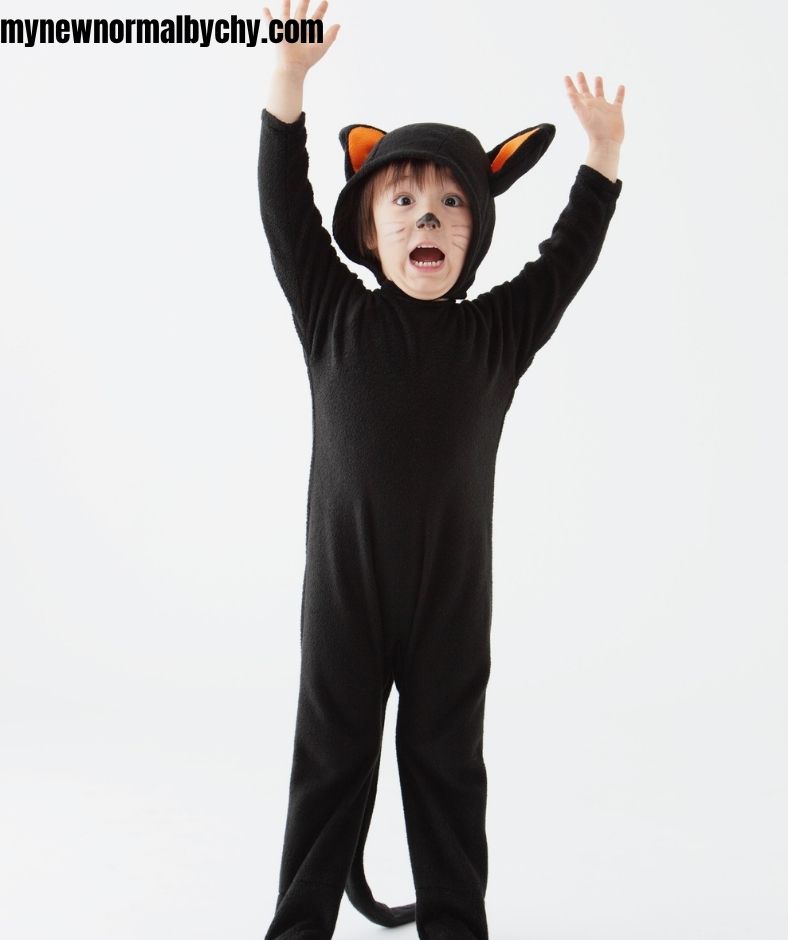
3. Black Cat
Why kids love it: Comfortable, cuddly, and easy to personalize.
Materials: Black leggings/T-shirt, eyeliner, black tights (for stuffed tail), headband, cardboard.
Estimated cost: $2-$8.
Steps:
- Dress child in black leggings and a black top.
-
Make ears: cut small triangles from cardboard, cover with black felt or paper, and glue to a headband.
-
For the tail, stuff a black tight or fabric tube with newspaper or old socks; secure the end and safety-pin to the waistband.
-
Draw a small nose and whiskers with eyeliner.
Parent tip: Use soft fabric for ears instead of stiff cardboard for comfort. Headbands from a dollar store work great.
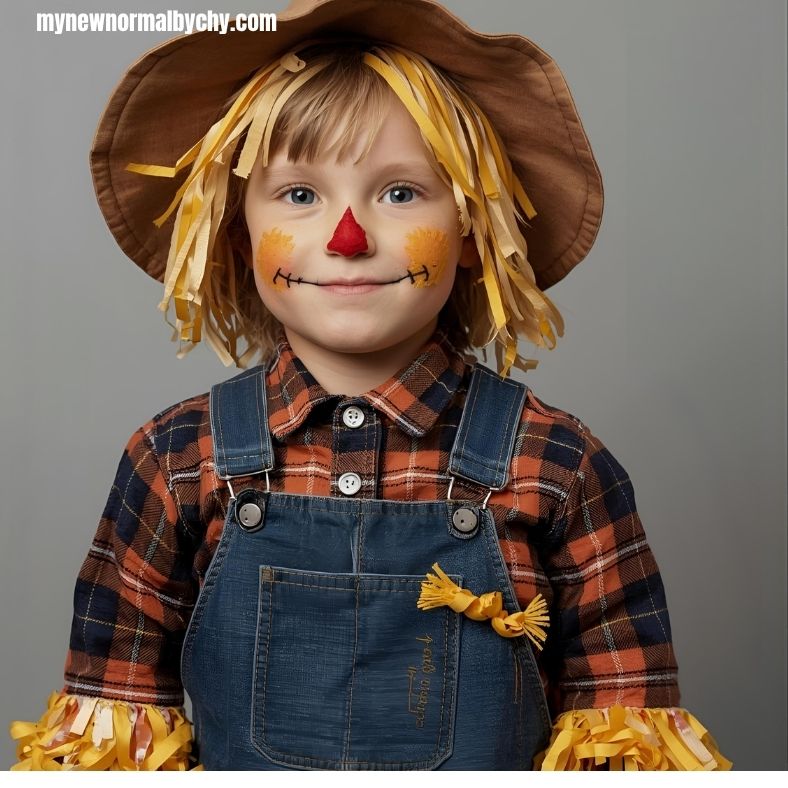
4. Scarecrow
Why it’s cozy: Fall vibes, layered clothing, perfect for cool nights.
Materials: Plaid shirt, overalls or jeans, straw/raffia or shredded paper, a floppy hat.
Estimated cost: $0-$10.
Steps:
- Dress child in a plaid shirt and jeans/overalls.
-
Stuff straw or shredded yellow paper into cuffs and pockets for that “straw peeking out” look.
-
Make stitched smile with eyeliner or fabric marker and add a felt patch to the cheek.
-
Finish with a floppy hat; secure with bobby pins if necessary.
Budget hack: Use raffia from craft stores , it’s cheap and reusable.
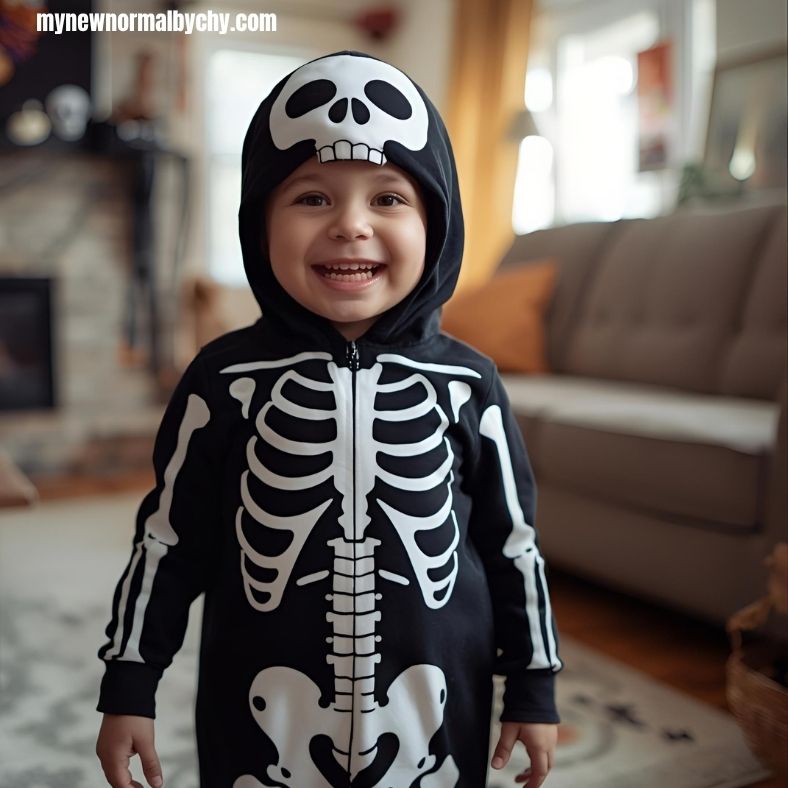
5. Skeleton
Why it’s dramatic: Glow in the dark options look awesome after dusk.
Materials: Black clothing, white fabric paint or white tape, glow paint (optional).
Estimated cost: $3-$8.
Steps:
- Lay down a template: have the child stand while you hold strips of paper where bones go, or sketch on paper.
-
Use white fabric paint to paint the bone shapes on a black T-shirt and leggings. Allow to dry.
-
For nighttime, outline bones with glow-in-the-dark paint.
Parent tip: Tape works for a no-paint option, stick white duct tape in bone shapes and remove after Halloween for reuse.
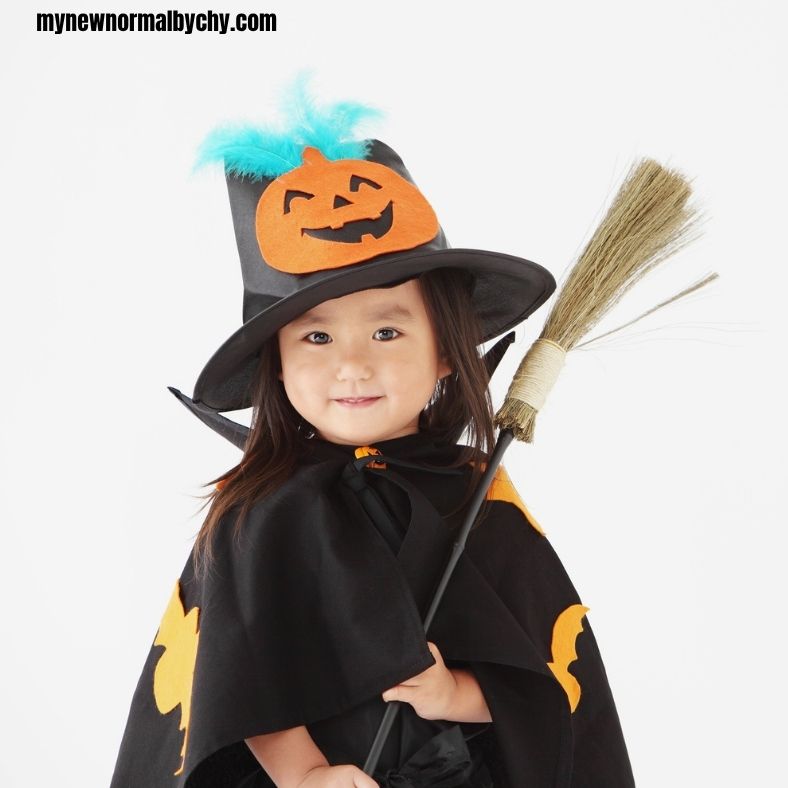
6. Witch or Wizard
Why it’s classic: Easy to be dramatic with minimal effort.
Materials: Black clothing, cardboard for hat, black fabric or felt, broomstick (or stick).
Estimated cost: $2-$7.
Steps:
- Make the hat: cut a cone from cardboard, wrap with black paper or fabric and secure with tape. Add a wide brim from a cardboard circle.
-
Dress child in black. Add a broom made from a stick and raffia tied at the end.
-
Optional: add a cape from an old curtain or dark T-shirt.
Safety note: Skip pointy props for toddlers; a broomstick can be a soft fabric roll.
7. Pumpkin
Why it’s adorable: It’s bright, simple, and toddler-friendly.
Materials: Orange T-shirt/dress, black felt for face, green beanie.
Estimated cost: $1–$6.
Steps:
- Attach black felt triangles (eyes, nose) and a mouth to an orange shirt with glue or safety pins.
-
Add a green beanie or create a stem from rolled felt.
-
For roundness, stuff a small pillow between layers (safety: secure it inside with stitches).
Parent tip: Use fabric glue for quick, no-sew results.
8. Superhero (DIY Cape)
Why kids love it: Everyone wants to fly, or at least pretend to!
Materials: Old pillowcase or fabric for cape, felt for logo, string or ribbon.
Estimated cost: $0-$5.

Steps:
- Cut fabric into a cape shape. Add two holes for a ribbon tie, or use velcro for a safer closure.
-
Cut a logo from felt and glue onto the cape or a T-shirt.
-
Make a mask from stiff felt or craft foam with eye holes; elastic holds it on.
Fun twist: Let your child invent their own superhero name and symbol.
9. Pirate
Why it’s lively: Swashbuckling fun that’s easy to assemble.
Materials: Striped shirt, bandana, cardboard eye patch, cardboard sword.
Estimated cost: $0-$5.
Steps:
- Dress child in stripes and dark pants.
-
Make an eye patch: cut a circle of black felt/cardboard and attach string.
-
Roll cardboard into a sword and cover with foil for a metallic look.
-
Add a bandana tied around the head.
Safety note: Use soft cardboard and round the sword edges.
10. Fairy or Butterfly
This is colorful, sparkly, and perfect for imaginative play.
Materials: Tutu or dress, wings (store-bought cheap or make from cardboard & elastic), glitter, headband.
Estimated cost: $3-$10.
Steps:
- Dress child in a tutu or colorful dress.
-
Attach wings: cut wing shape from cardboard, decorate with paint/markers, and add elastic loops.
-
Finish with a lightweight glittery wand or headband.
Parent tip: Skip real glitter if you want easier cleanup, use glitter stickers or metallic markers.
11. Zombie
Why older kids love it: Messy, dramatic, and a little spooky.
Materials: Old clothes, washable red paint or ketchup for faux blood, grey/black face paint.
Estimated cost: $0-$5.
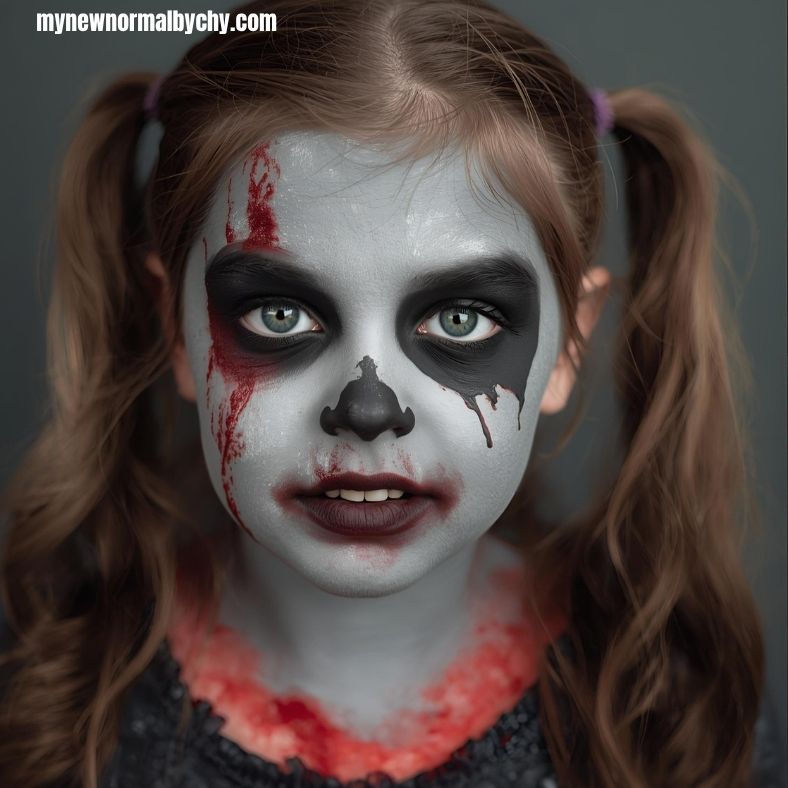
Steps:
- Rip some clothing edges and smudge with dirt or tea for an aged look.
-
Apply grey base makeup and darken eye sockets with black eyeshadow.
-
Add red paint (sparingly) for wounds. Keep it washable for easy cleanup.
Parental note: Keep makeup choices hypoallergenic, especially for sensitive skin.
12. Chef
It’s cute and comfortable, great for group costumes.
Materials: White shirt, makeshift apron, paper chef’s hat (rolled paper), wooden spoon.
Estimated cost: $0-$4.
Steps:
- Tie an old T-shirt or towel around the waist as an apron.
-
Make a tall chef’s hat by rolling white paper and securing with tape.
-
Add a wooden spoon or a pot as a prop.
Fun idea: Let kids hand out “samples” of pretend cookies to friends.
13. Robot
Boxy, creative, and kids adore clanking around.
Materials: Cardboard box (large enough for torso), aluminum foil, bottle caps, stickers.
Estimated cost: $0-$5.
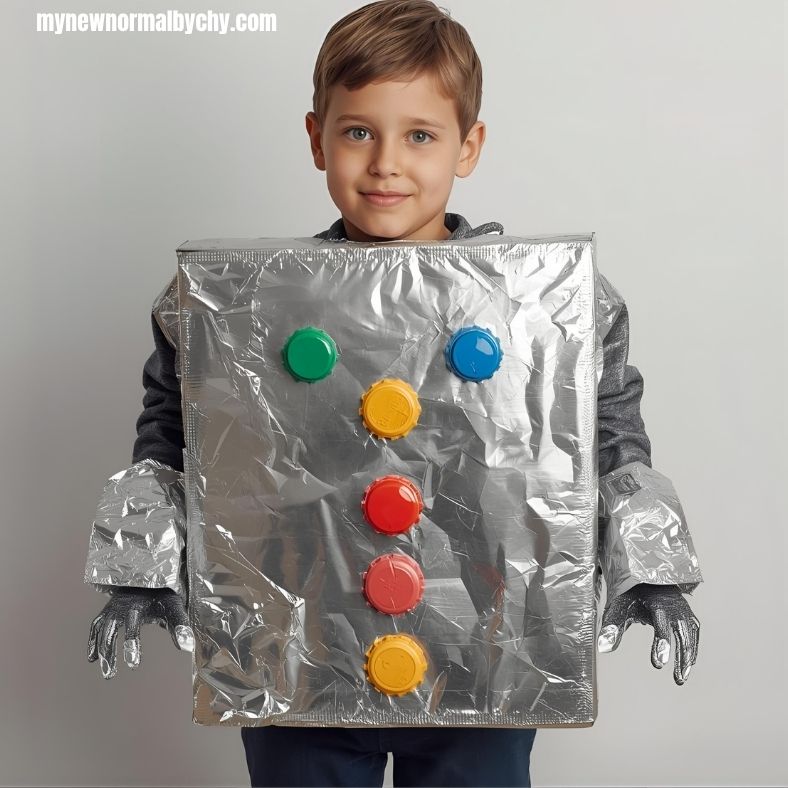
Steps:
- Cut holes for head and arms in the box.
-
Cover box in aluminum foil and glue on bottle caps/buttons as controls.
-
Add a “control panel” with painted rectangles.
Safety tip: Make sure armholes are wide enough for easy movement; pad edges with tape.
14. Athlete / Sports Star
This is super easy, use what they already love to wear.
Materials: Favorite jersey or team T-shirt, face paint, sports prop (ball, bat).
Estimated cost: $0-$5.
Steps:
- Dress in team gear.
-
Paint a small team logo or stripe on the cheek with face paint.
-
Carry a sports accessory to complete the look.
Budget hack: Use a thrifted jersey for authenticity without cost.
15. DIY Monster
Why it’s creative: Totally customizable, great for kids who love designing.
Materials: Colorful clothes, googly eyes, felt, pipe cleaners.
Estimated cost: $0-$6.
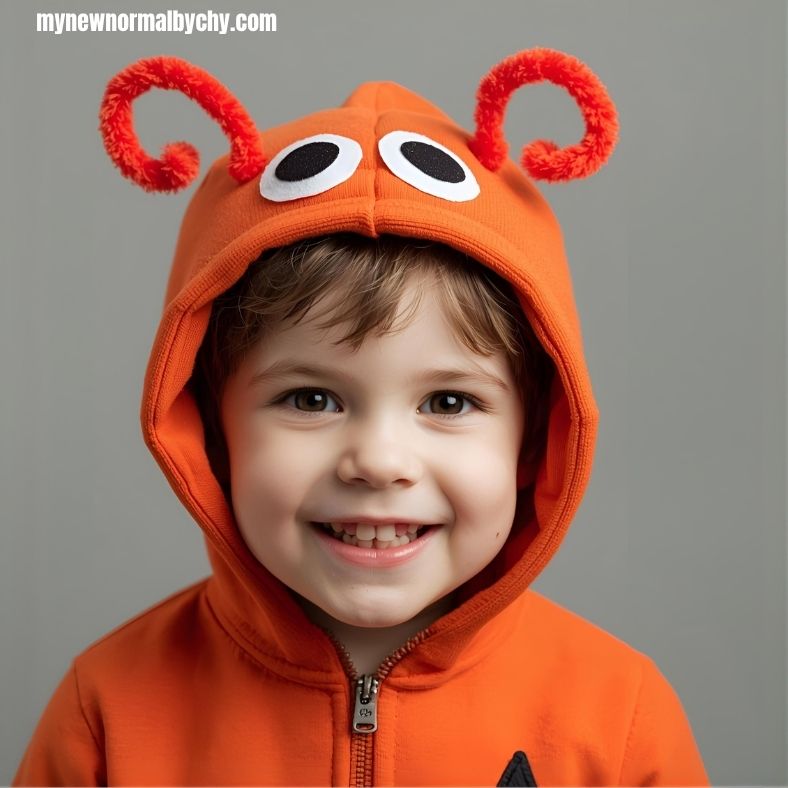
Steps:
- Let your child pick clothes as the base (bright colors or mismatched layers work great).
-
Glue or attach googly eyes to a headband or a hat for “extra” eyes.
-
Use pipe cleaners as antennae and felt for teeth glued to the hood.
Parent tip: This is the easiest last-minute costume, kids enjoy inventing names and personalities for their monsters.
Extra money-saving strategies
- Thrift & community swaps: Host a costume swap with friends or check thrift stores for base pieces.
-
Buy once, reuse: Keep a costume box each year with accessories that can be mixed and matched.
-
Shop seasonal clearance: Right after Halloween is the best time to buy props and makeup for the following year.
-
Digital templates: Printable masks and shapes save time and cost almost nothing.
Safety & comfort checklist
- Avoid small loose parts for toddlers (choking hazard).
-
Don’t use long trailing fabrics for young children (tripping risk).
-
Test makeup on a small patch of skin first to avoid reactions.
-
Use battery-operated lights (no open flames) for lanterns or glowing effects.
-
Make sure kids can see and breathe easily, eye holes and masks should not obstruct vision.
The part I love most
The costumes that cost the least often mean the most. When your child wears something they helped make, a monster with three crooked eyes, a mummy who wrapped themselves with giggles, it becomes more than fabric and glue. It’s a memory: an evening with hot chocolate and glitter under the kitchen light, a silly story as you cut cardboard, the proud “Look!” when the costume is done.
So this Halloween, pick one (or three) of these ideas, spread the making over a few evenings, and let the kids lead. You’ll save money, reduce stress, and build a tradition that’s honestly better than anything from a box.